From a mobile unit or desktop computer, enter quantities associated with Billing Codes defined by your organization using the Billing Code Mobile Floor App. For example, your accounting department could see how many 20 foot containers were unloaded this month. The 20-foot containers would be the billing code that you enter a quantity against.
Use the Billing Code Mobile Floor App
- Access the Billing Code Mobile Floor App. Two ways:
- On a desktop computer: From the Dashboard, click the Mobile Floor Apps tab. Then click Billing Code.
- On a mobile unit: Tap Billing Code.
- If prompted, select the appropriate Warehouse. The "Billing Code" screen displays.

Create a New Billing Code Record
- From the "Billing Code" screen, tap Create New in the top right. A "Creating Billing Code" screen displays.

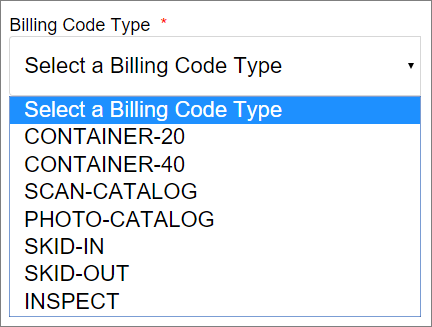
- Select the Billing Code Type from the drop-down menu.
-
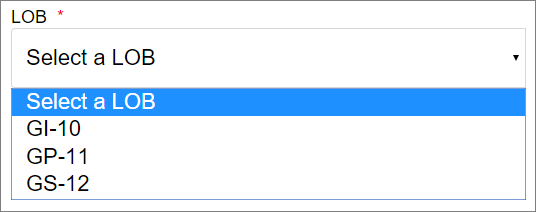
Select the Line of Business (LOB) from the drop-down menu.
-
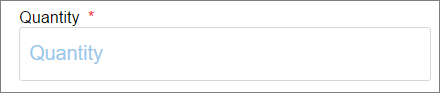
Enter the quantity associated with the billing code.
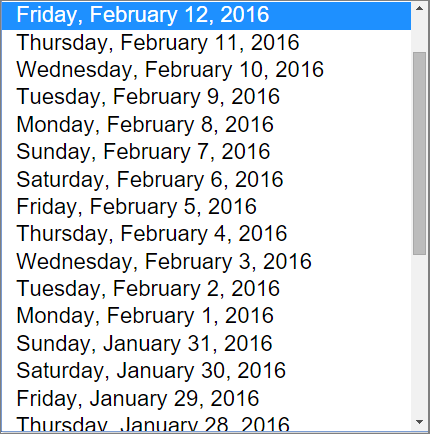
- Select the date. The date defaults to the current date. Select the date when the billing activity occurred.
- Enter a description of the work performed in the optional Note field.
- Click Save. Confirmation that the billing code was saved appears at the top of the screen.

Edit a Billing Code Record
- From the "Billing Code" screen, tap the gear icon
 in the top right. The current date's billing code records display.
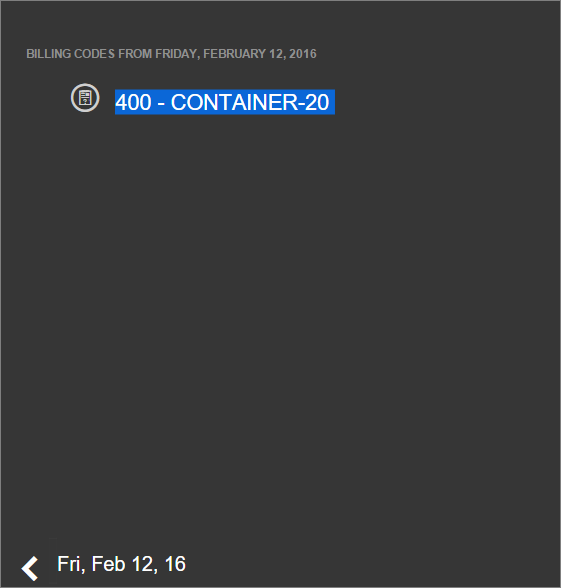
-
Click the arrow at the bottom of the screen to scroll to the previous date's entries.
-
Click the entry you want to edit.
-
Click Edit.
-
Edit the fields.
-
Click Save. Confirmation that the edit was saved appears at the top of the screen.
Delete a Billing Code Record
- From the "Billing Code" screen, tap the gear icon
 in the top right. The current date's billing code records display.
 -
Click the arrow at the bottom of the screen to scroll to the previous date's entries.
-
Click the entry you want to delete.
-
Click Delete. A message displays to verify you want to delete the record.

