Classic Mobile Floor App: Perform "Location Move" Work
A “Location Move” is a move of an entire location of inventory (i.e., to move entire locations to a new section of shelving or a different building in your warehouse). With a location move, there is no counting or partial moves. The entire location’s inventory will be moved.
NOTE: If you perform a Location Move in a Location that allows Item Mixing (meaning more than one SKU can be stored in that location), ALL SKUs will be moved. If you need to move a single SKU, create an Inventory Adjustment. You can Adjust Inventory Using the Location Mobile Floor App or Create Quick Adjustments using the Desktop App.
To move entire locations of inventory in Infoplus, you will need a “Location Move” work ticket.

One work ticket represents both the “Pick” and “Put Away” portions of the work. For help, see Create “Location Move” Work Tickets.
The steps below are to perform the “Pick” and “Put Away” work in Infoplus.
Perform “Pick” Work
- Access the Perform Work Floor App. Depending upon the device, you will likely access the “Perform Work” screen using one of the following methods:
On a desktop computer: From the Dashboard, click Mobile Floor Apps tab. Then click Perform Work.
On a mobile unit: Click Perform Work. - In the “Scan Work Ticket” screen, scan the Work ID barcode from the work ticket. You can also type in the ID.
NOTE: If you scan content into scan fields, you will automatically move to the next screen. If you type into scan fields, you will need to click Next to move to the next screen.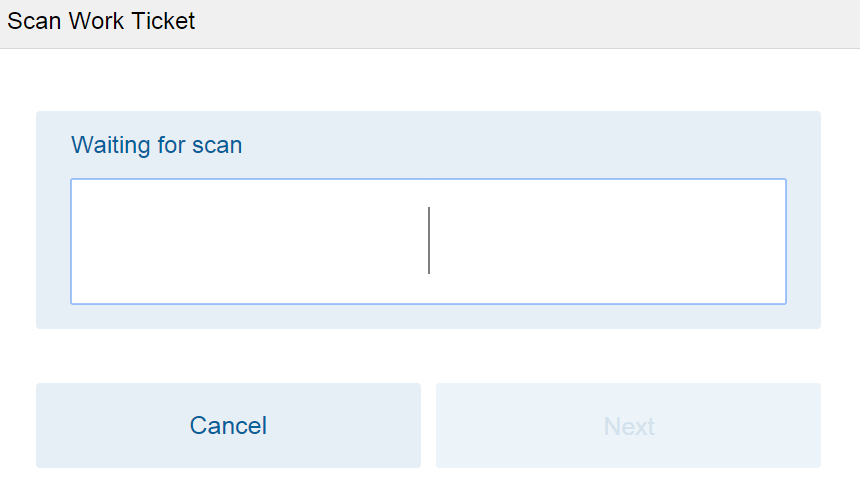
- In the “Scan From Location” screen, scan the barcode from the physical location where you are picking up. This validates the location against the work ticket.

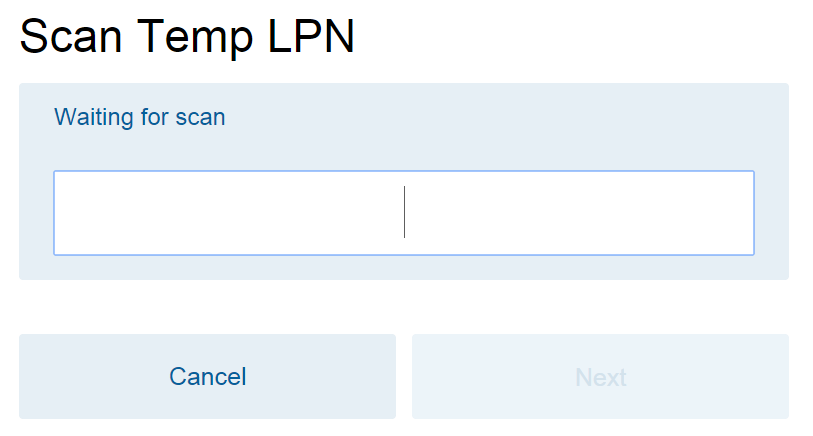
- In the “Scan Temp LPN” screen, Scan the Temporary LPN barcode from the work ticket. The LPN acts as a temporary identifier or "license plate" for the inventory while it's being moved.
- If the Temp LPN was validated, the screen will indicate that the work was completed.
- After completing the “Location Move - Pick” work, the inventory is saved under the LPN and unavailable.
- The “Location Move – Pick” work record will now display a status of “Completed” in the “Work” table.
- The “Put Away” portion of the work can now be performed.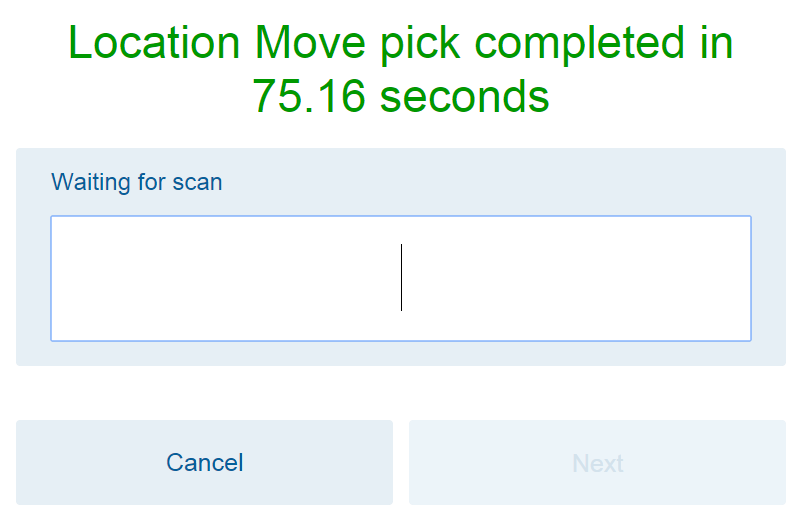
- The screen is ready for you to scan another work ticket. Continue to perform work, or click Cancel to exit the Perform Work app.
NOTE: You can continue to scan other “Location Move – Pick” tickets (i.e., to pick a large number of locations to load into a truck and move to another building). - If working on a desktop computer, you can return to the desktop view by clicking the
 button in the upper left corner, then scroll down and select Desktop.
Perform “Put Away” Work
- Access the Perform Work Floor App. Typical methods:
On a desktop computer: From the Dashboard, click Mobile Floor Apps tab. Then click Perform Work.
On a mobile unit: Click Perform Work. - In the “Scan Work Ticket” screen, scan the Work ID barcode from the work ticket. You can also type in the ID. NOTE: If you scan content into scan fields, you will automatically move to the next screen. If you type into scan fields, you will need to click Next to move to the next screen.

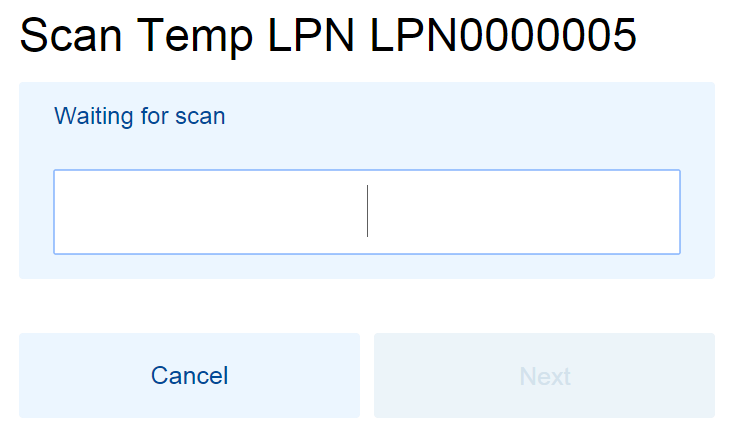
- In the “Scan Temp LPN” screen, scan the Temporary LPN barcode from the work ticket. The LPN acts as a temporary identifier or "license plate" for the inventory while it's being moved.
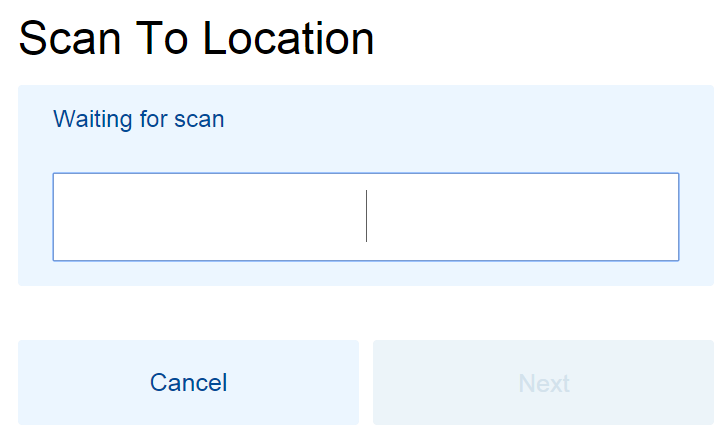
- In the “Scan To Location” screen, scan the barcode from the physical location where you are putting away. This can be any location in your warehouse, assuming the location is valid for the inventory.
- The screen will indicate that the work was completed.
- At this point, the inventory is moved to the new location and off of the LPN (temporary identifier).
- The “Location Move - Put away” work record will now display a status of “Completed” in the “Work” table.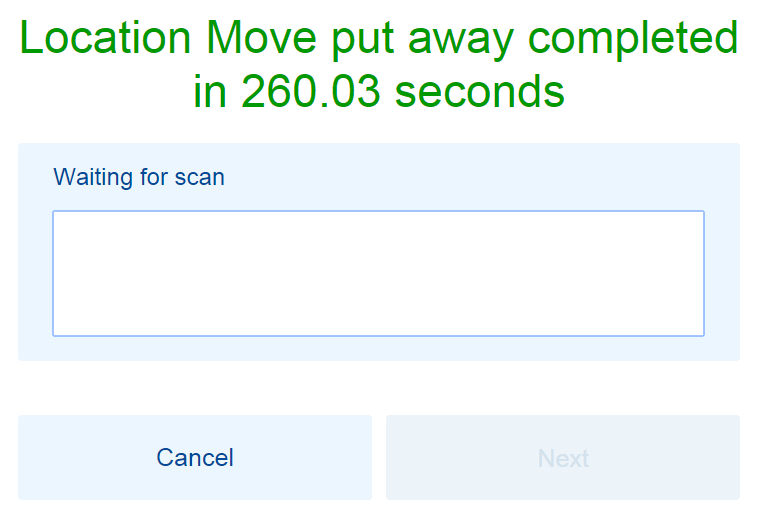
- The screen is ready for you to scan another work ticket. Continue to perform work, or click Cancel to exit the Perform Work app.
- If working on a desktop computer, you can return to the desktop view by clicking the
 button in the upper left corner, then scroll down and select Desktop.
