If you have a WooCommerce site, you can integrate the site with Infoplus. With this integration you can automate sending Orders, receiving inventory, and fulfillment updates automatically.
Your 3PL provider should have already provided your company with the set-up of your shopping cart connection. If you are not aware if your shopping cart has been connected, please contact your 3PL provider.
- Shopping Cart Connection Set-up
- Infoplus username and password
Infoplus Plugin Setup
There are two important things that need to be done here:
- Connect the WooCommerce Site to Infoplus
- Configure Products to be Managed by Infoplus
- Note: If this step is skipped, Inventory and Tracking information will not be automatically synced from Infoplus to Shopify.
Connecting Infoplus to your WooCommerce Site
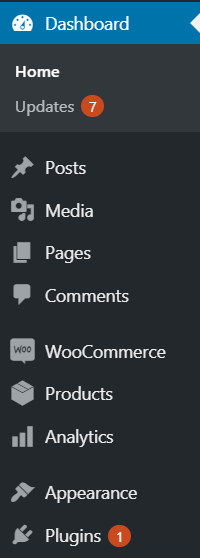
- Log In as Administrator to the WooCommerce Site.
- Locate the Plugins on the menu bar at the bottom left of the menu screen.
2. Locate and click the “Add New” button.
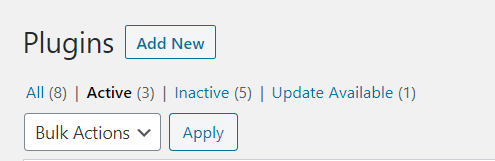
3. Using the search bar, search for “Infoplus”.

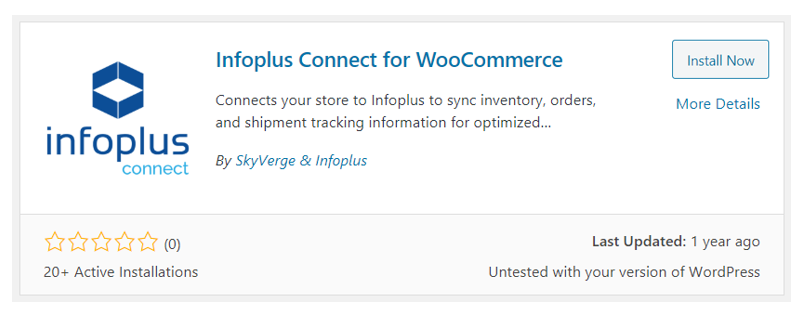
4. The Infoplus app should appear. Click on the app for the option to install and select install now.
(Select Infoplus app with the white logo as pictured below)
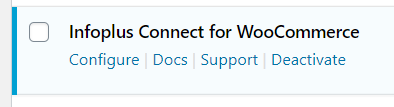
5. Select Configure to Connect to Infoplus.
Now that Infoplus is set up in WooCommerce, the connection needs to be completed in Infoplus.
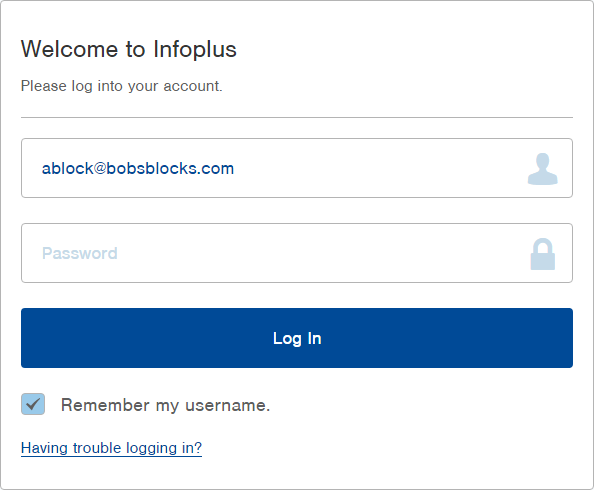
6. Log into Infoplus using the infomation provided by your 3PL. If you did not recieve this information, please reach out to your 3PL.
- Infoplus Site Link
- Username
- Password
7. Go to "Account management", and click on "Shopping Cart" under Connections.

8. Click "Shopping Cart Connection" to start your connection setup.

9. Locate your shopping cart and select it to view details.
10. You'll now see your new cart connector app, which we'll now connect to your WooCommerce store. Click on the link that says, "Click here to connect."

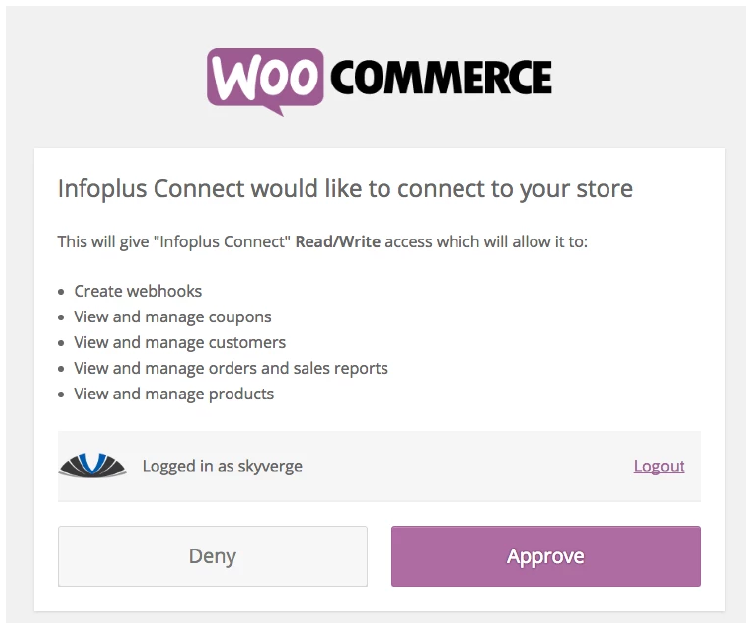
You'll now see a permission screen, letting Infoplus communicate with your store to update order and product data. Click "Approve" to complete the connection.
-
Your WooCommerce store is now connected to your Infoplus account using the settings you've configured within Infoplus. You can enable management for your products and orders using the plugin.
Extension Settings
- Auto-Complete - Enable this to auto-complete orders that contain only Infoplus-managed products when all parcels have shipped.
- Infoplus API Key - This setting will automatically be filled in when you connect to Infoplus. It's available only if you need to refresh at the direction of Infoplus. It's available only if you need to refresh it at the direction of Infoplus.
- Debug Mode - Enable this to log error messages to the plugin log, located under WooCommerce > System Status > Logs. For best performance, please only enable this if you are having issues with the plugin.
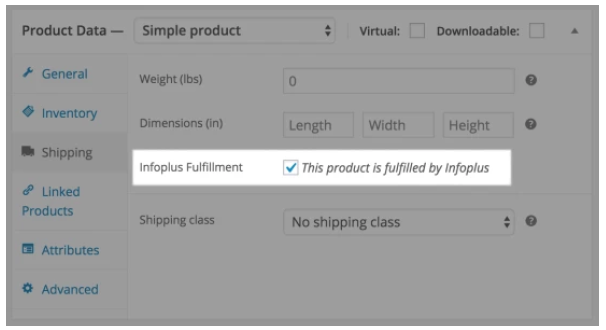
 Note: In order to sync items with Infoplus, you must ensure that your WooCommerce SKU matches the SKU you've set for your item within Infoplus. When creating a new item in Infoplus, note the SKU for the item.
Ensure that this SKU is used within WooCommerce under the "Inventory" tab, and that "Infoplus Manage?" is enabled for a product to enable syncing.
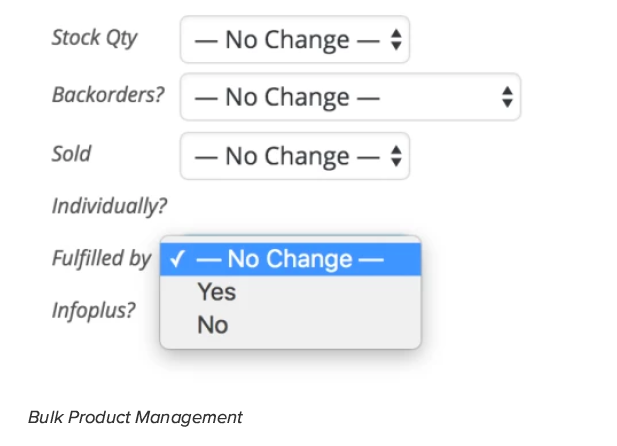
You can also enable "Infoplus Managed?" for multiple products using the product bulk actions.
Order Management
When an order is paid for (typically processing or completed status), it will automatically be sent to Infoplus without any further action needed. This also supports custom "is paid" statuses created with WooCommerce Order Status Manager for automatic order submission.
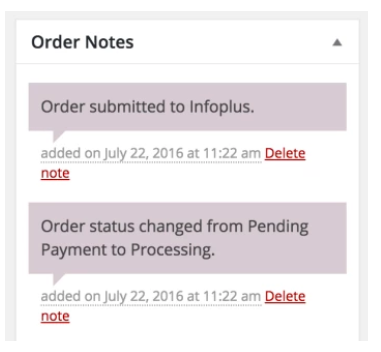
The products that are Infoplus-managed will have an Infoplus order created, and will be shown on the orders page in a new "Infoplus Orders" box.

When Infoplus has updates available for the order, they will be pushed to your WooCommerce store automatically, and this Infoplus Orders box will automatically update with any sub-orders or parcel information. Admins will also be able to see parcel data or view tracking information with one click.
If you opt to auto-complete orders within your Infoplus settings, the order will be marked completed if:
- All products in the order are managed by Infoplus, and
- All parcels have been marked "shipped".