Infoplus Insights is an add-on module that leverages machine learning, artificial intelligence, and advanced data mining. At the end of the day, it helps our clients answer two general questions:
-
Given an order, what other orders are similar to it?
-
Given a set of orders, what kind of labor will it take to fulfill them, considering the various production methodologies (i.e., layout by order, pick to cart, mass distribution) used?
In this article, we are going to cover 6 tables and how to set them up to start using Infoplus Insights.
Tables covered in this article: Warehouse Service Type, Line of Business, Standard Business Day, Non-Business Day, Warehouse, Production Model
Warehouse Service Types
Warehouse service types are exactly what they sound like: the various types of services that an operation will perform. Some commonly-used service types have been setup in our Pegasus test site for example purposes. There are screenshots of this table below.

Service types will be established for every order in one of three ways:
-
Order Sources - Default Service Types can be set for each order source. This will be the first field that is evaluated.
-
Line of Business Defaults - If there is no default service type specified, the system will then evaluate line of business defaults that are defined in the line of business table.
-
If the service type is not specified via order source or line of business defaults, the system will assign the default “Customer Order” service type.
Line of Business
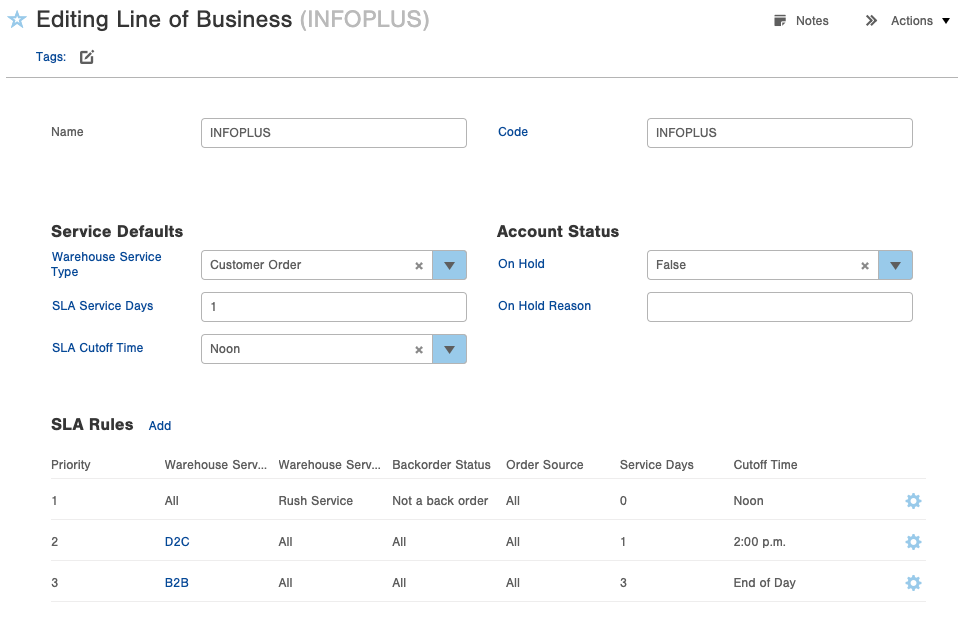
From this table, Service Defaults, Account Status, and SLA Rules can be configured for each line of business.
Service Defaults are used in scenarios where service types, service days, or cut-off times are not clearly defined for an order.
Account Status fields are used to determine if this line of business is currently active. Orders for accounts with a hold status of “true” will not be fulfillable.
SLA Rules are used to determine the SLA status for every order. They are configurable by service type, service level, order source, service days, and cut-off times. In the example below, there are three SLA rules set up. The first only considers orders which have received a rush service level, have never been a backorder, and entered before noon. These orders have a service day value of 0, which indicates it needs to be picked and shipped the same day. The next rule is set up for all direct-to-consumer orders that are entered before 2 pm.
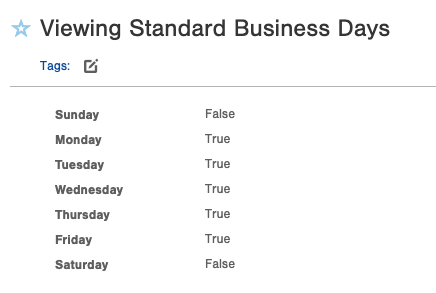
Standard Business Day
This table is used to define the standard business days for the operation as a whole. Insights will use this table when determining the SLA status.
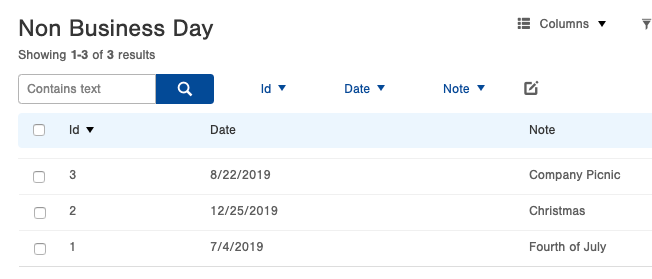
Non-Business Day
Any observed “nonbusiness” days such as holidays, company outings, or special events can be defined in this table. We recommend using Chat GPT or some other AI to quickly come up with a list of all non business days.
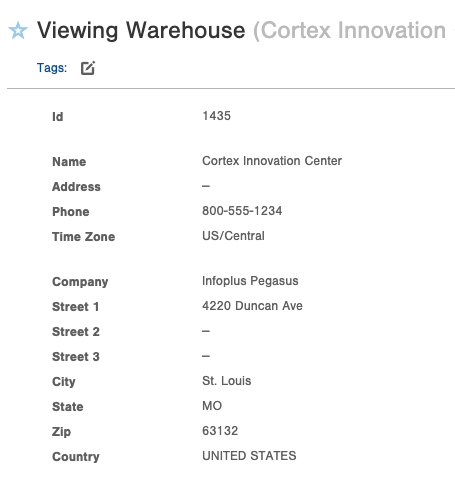
Warehouse
The warehouse table can be used to specify the timezone used in SLA calculations.
Warehouse Service Level, SLA Dates, & Status
Warehouse Service Levels specify the "expediency" of the order for the purposes of warehouse handling. By default, we have two options: standard and rush. We also account for backorders as a service level. See the new fields of Backorder Status and Backorder Release Date that indicate if an order was ever in backorder status, as well as the date it was released back to On Order. By default, the SLA for all backorders is 5 days.
Since every order will have a Warehouse Service Type and Level assigned to it, we can identify the SLA Date (Service Level Agreement Date) for each order. This is the date the warehouse is contractually obligated to fulfill the order by.
Once we know the SLA Date, we can also determine the SLA Status: Past Due, Due Today, Due Tomorrow, Due This Week, Due in the Future, Backordered, or, if it's Shipped: Shipped On-Time, Shipped Early, or Shipped Late. This field helps your warehouse prioritize what orders need to be shipped by which day.
SLA Date Calculation
If the order has a Deliver On Date, or a Need By Date, the SLA Date is set to the Order Date, which was previously calculated by Infoplus as the date the order needs to ship to meet that deliver-on or need-by. Otherwise, Infoplus goes through the following two-step process to calculate an order's SLA Date:
Step 1: SLA Parameters are calculated: (those are: service days and cutoff time) These are calculated for each order given its LOB, Order Source, Warehouse Service Type, Warehouse Service Level and Backorder status. Here is how the calculation is made, in order:
-
The SLA Rules on the order's Line of Business are evaluated in order of Priority (starting at Priority 1). The first SLA Rule that's found which matches the order on all fields is the one that is used.
-
If no SLA Rule on the Line of Business matches the order, then the Default SLA Cutoff Time and SLA Service Days value from the LOB is used.
-
Finally, if the LOB did not specify default SLA Service days or Cutoff Time, then a cutoff time of noon, and service days of 1 is used.
Note that for Service Days, a value of 0 means Same Day service, 1 means Next Day service, 2 means 2 Day service, etc.
Step 2: Effective Entry Date Is Computed: This is the date to which the Service Days from above are added to compute the SLA Date.
-
If the time of the order's Create Date is later than the cutoff time (given the order's warehouse time zone (which defaults to US/Central, if not set on the warehouse table)), then the day after the create date is used as the effective entry date.
-
If the order has a Backorder Release Date, that date is used as the effective entry date (going through the same cutoff time logic as above).
-
Now the computed SLA Date can be set by counting from the effective entry date forward by as many business days as the service days is set to. Note that this means for same-day service, service days should be 0. Next-day service is 1, and so on.
-
If the order's Order Date is LATER than the computed SLA Date, then the SLA Date becomes the Order Date.
-
Similarly, if the order's Last Ship Date is LATER than the computed SLA Date, then the SLA Date becomes the Last Ship Date.
-
Finally, the computed SLA Date is used as the order's SLA Date.
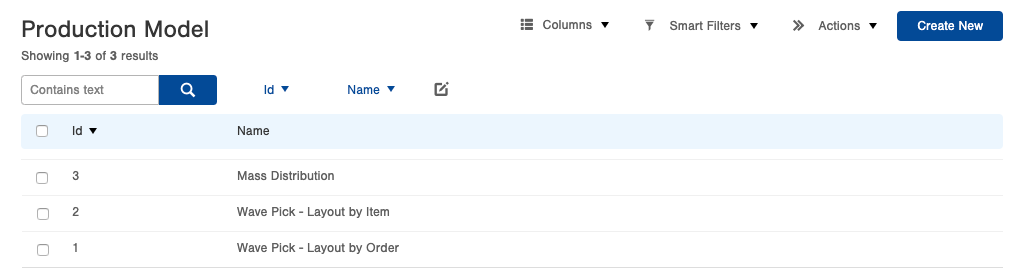
Production Models
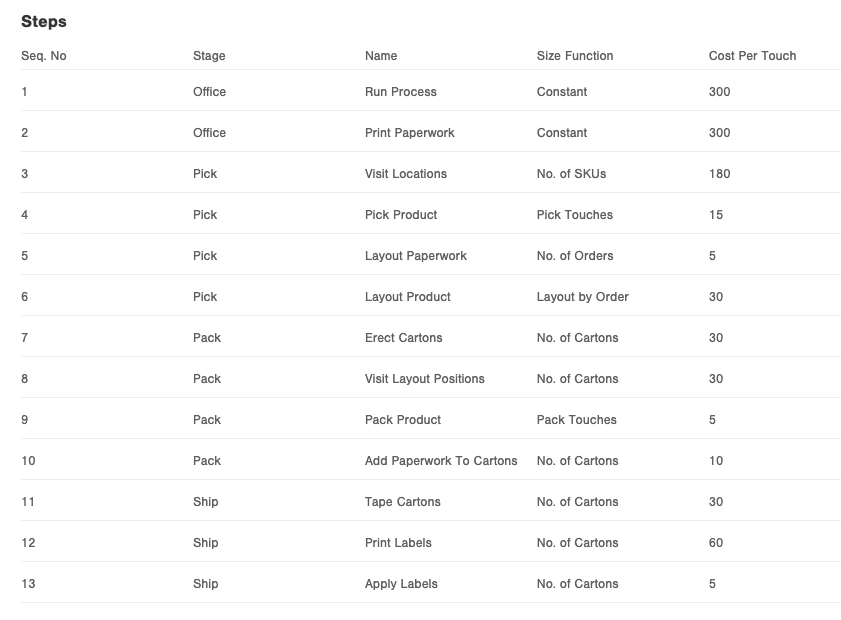
Production models are used when estimating the steps and touches for every order. With that being said, it requires our clients to provide a detailed list of all of their processes as well as assign a “cost” to each step. An easy way to use the cost feature is to think of the step in terms of seconds. For example, if step 1 is “Hit Execute” in the Insights screen, that might take 20 seconds, so the cost would be 20. Step 2 is to print the documentation and deliver it to the picking team. This step might take 2 minutes, so we assign the cost as 120. Once we have a cost associated with every step of the process, we have a true view of how much labor is involved.
If you plan on setting up a Mass Distribution production model, make sure to specify the corresponding validation function. Currently, Mass Distribution is the only validation available. This function makes sure that all orders being analyzed are identical before recommending a mass distribution production type for an order group. (We’ll explain this in greater detail later on).
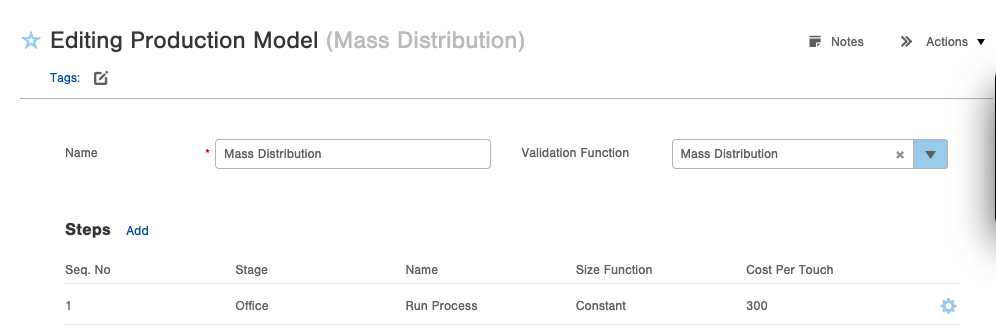
Example Production Model:
Importing SLAs from other LOBs
From creating to working with a line of business, Infoplus will give you the option to import SLA rules from another client, making the setup process quick and easy. This option can be found next to the SLA rules within each LOB record or from the action menu drop-down.
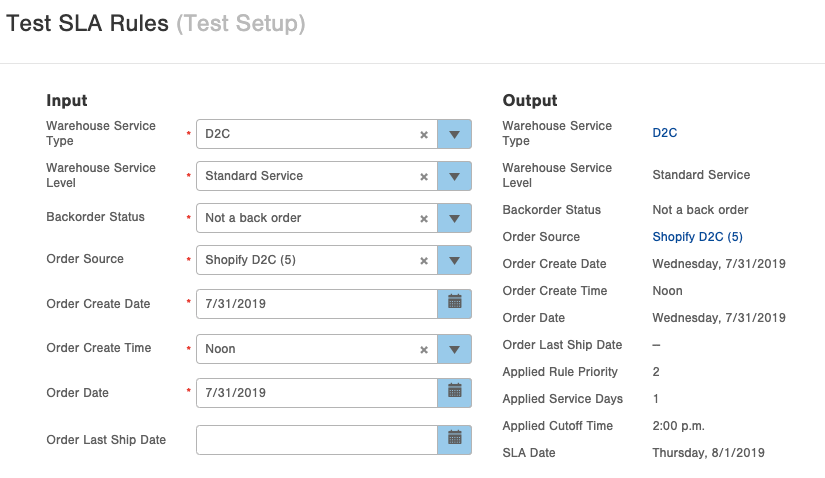
Testing SLAs
Once you have everything configured, you can test the SLAs from the action menu of the line of the business table. This allows users to enter custom input information and see the resulting SLA data.

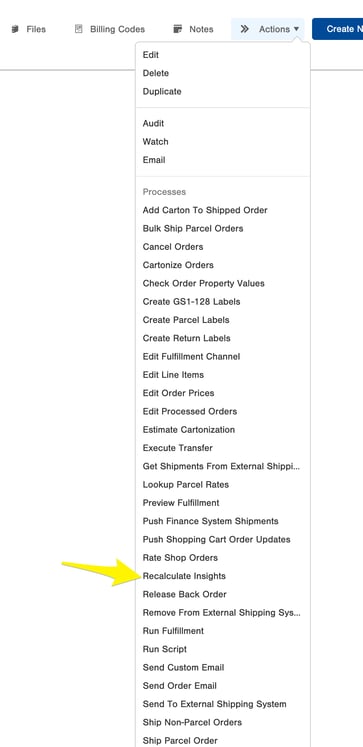
Recalculating Insights Data
If you already have orders in the system prior to enabling and configuring Insights, you will need to recalculate your Insights data against those orders. Doing so is simple. Navigate to the order table, filter for the order(s) in question and choose "Recalculate Insights" from the action menu.This function is also helpful if orders are changed or updated after the initial insights calculation. This can also be automated by using the URL's below:
https://yourInfoplusSite/infoplus-wms/api/insights/calculate-order-insights-fields
https://yourInfoplusSite/infoplus-wms/api/insights/build-suggestion-groups