A Role is a group of permissions. For example, you can create an "Account Representative" role with certain permissions related to that job title and then assign users to that role. NOTE: You can assign additional permissions to a user, beyond his/her role, if needed. See Edit User Permissions for more information.
How to Create a Role
- Access the Roles Table by pressing the dot (period) on your keyboard and selecting Role from the Quick Actions drop-down list.
- Click the Create New button in the top right. The Create New Role window appears:
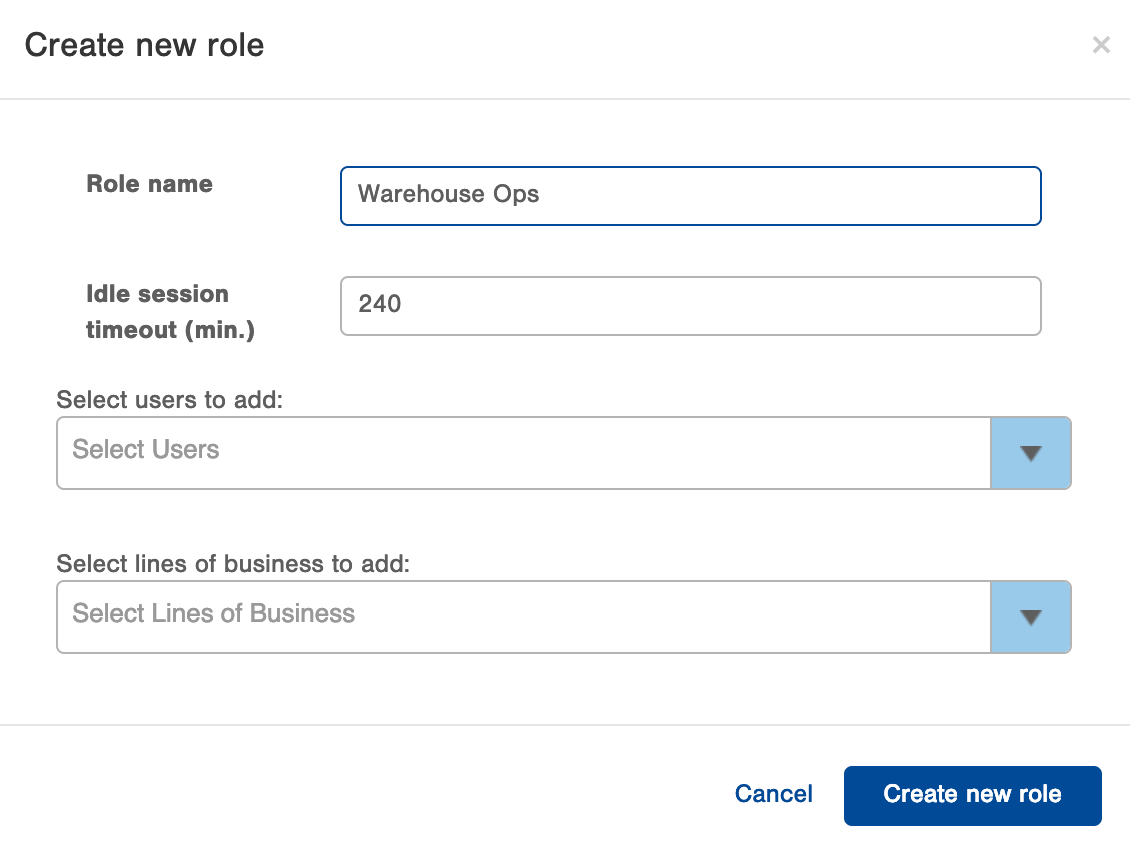
- Enter a name for the Role into the Role name field (i.e., Warehouse Ops.
- Idle session timeout (min.) allows you to tell Infoplus when you want Users that have this Role assigned to be logged out of the system. The value this field is looking for is in minutes.
- You can assign users to this role now or later. To assign users to the role in this window, click the drop-down arrow in the Select Users field. Click on a user. Continue to click the drop-down arrow to select additional users. NOTE: If you want to remove a user you selected, click the X that appears in the top right corner of the username.
- To select the Line of Business(es) that will use this role, click the drop-down arrow in the Select Line of Business field. Click on an LOB. Continue to click the drop-down arrow to select additional LOBs.
- Click Create New Role. The Role appears in the Role Manager window.
How to Assign Permissions to a Role
After creating a role, you need to assign permissions to the role (i.e., permission to edit records in the Order table).
- Access the Roles table by pressing the dot (period) on your keyboard and selecting Role from the Quick Actions drop-down list.
- Click the
 that appears at the end of the row for the role you want to add permissions to.
 - Select Permissions from the drop-down menu. The Edit Permissions window appears:

- Permissions are grouped by Infoplus application. The left side of the window contains the list of applications. The right side contains the permission options within each application. - On the left, select an application to narrow the permissions that display, or keep All selected (which shows all permissions on the right).
NOTE: You can use the Search Permissions field to search for a set of permissions. For example, if you want to see all permissions related to Orders, type Order into the Search Permissions field and press Enter. - On the right, select the permissions to be assigned to the role by clicking the appropriate checkboxes. NOTE: You can assign "Read", "Create", "Edit", and "Delete" permissions to Infoplus tables (i.e., the Billing Code table), but you can only assign "Has Access" permission to processes and reports.
- After selecting the permissions, click Save. You will return to the Roles table.
NOTE: If you want to edit a role's permissions, click the at the end of the role's record and select Permissions.
How to Rename a Role
- Access the Roles table by pressing the dot (period) on your keyboard and selecting Role from the Quick Actions drop-down list.
- Click the
 that appears at the end of the row for the role you want to edit.
 - Select Edit from the drop-down menu.
- Type a new name for the Role and click Edit Role.
