NOTES:
- The Order Invoice Template options are similar to those provided for the Packing Slip Template; however, the Order Invoice Template can include pricing information for the items in the order.
- If you need to create an Order Invoice Template that is similar to another template, we recommend using the Duplicate action (instructions below).
This support article describes how to:
- Create an Order Invoice Template
- Add Images to Order Invoice Templates
- Preview Order Invoice Templates
- Duplicate Order Invoice Templates
Create an Order Invoice Template
- Access the “Order Invoice Template” table. Two ways:
From the Dashboard: Click the “Warehouse Operations” tab, click the “Fulfillment Setup” App, then click the “Order Invoice Template” Table.
From the Quick Actions shortcut: Press a dot (period) on your keyboard, then select “Order Invoice Template” from the list of Quick Actions. - Click the Create New button in the top right. The Creating New Order Invoice Template window appears.
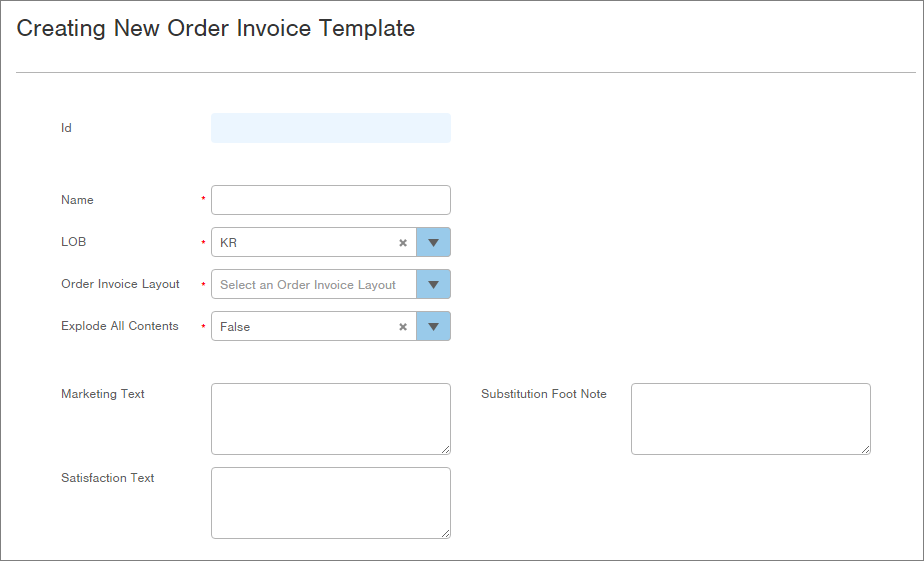
- Enter a Name for the Order Invoice Template.
- Select the Line of Business (LOB) where this Order Invoice will be used.
- Select an Order Invoice Layout from the drop-down menu (i.e., Standard Order Invoice 8.5 x 11). This layout dictates the placement of content on the order invoice.
- In the Explode All Contents field, select True to display all components of on-demand kits, as well as substituted items. False will display only one line for the kit, and for substitutions, will display the originally ordered item.
- Enter text into the appropriate Text fields. Remember, you are typing text into the Order Invoice Template, so it will appear for all orders using this template.
- Marketing Text: Text typed here will display where specified in a Message Section (further down the window). You will need to select "Marketing Message" in the "Field #" drop-down menu for the appropriate Message section. Sample Marketing Text: "We appreciate your business."
- Satisfaction Text: Text typed here will display where specified in a Message Section (further down the window). You will need to select "Satisfaction Guarantee" in the "Field #" drop-down menu for the appropriate Message section. Sample Satisfaction Text: "Please contact us if you are not 100% satisfied with your order."
- Substitution Foot Note: Text typed here will display if a SKU substitution occurred. Sample substitution text: "Your order contained items that are currently out of stock. We were able to substitute like items at no cost to you.")
Line Items and Pricing Information
- In the Line Items section, edit the default selections as needed.
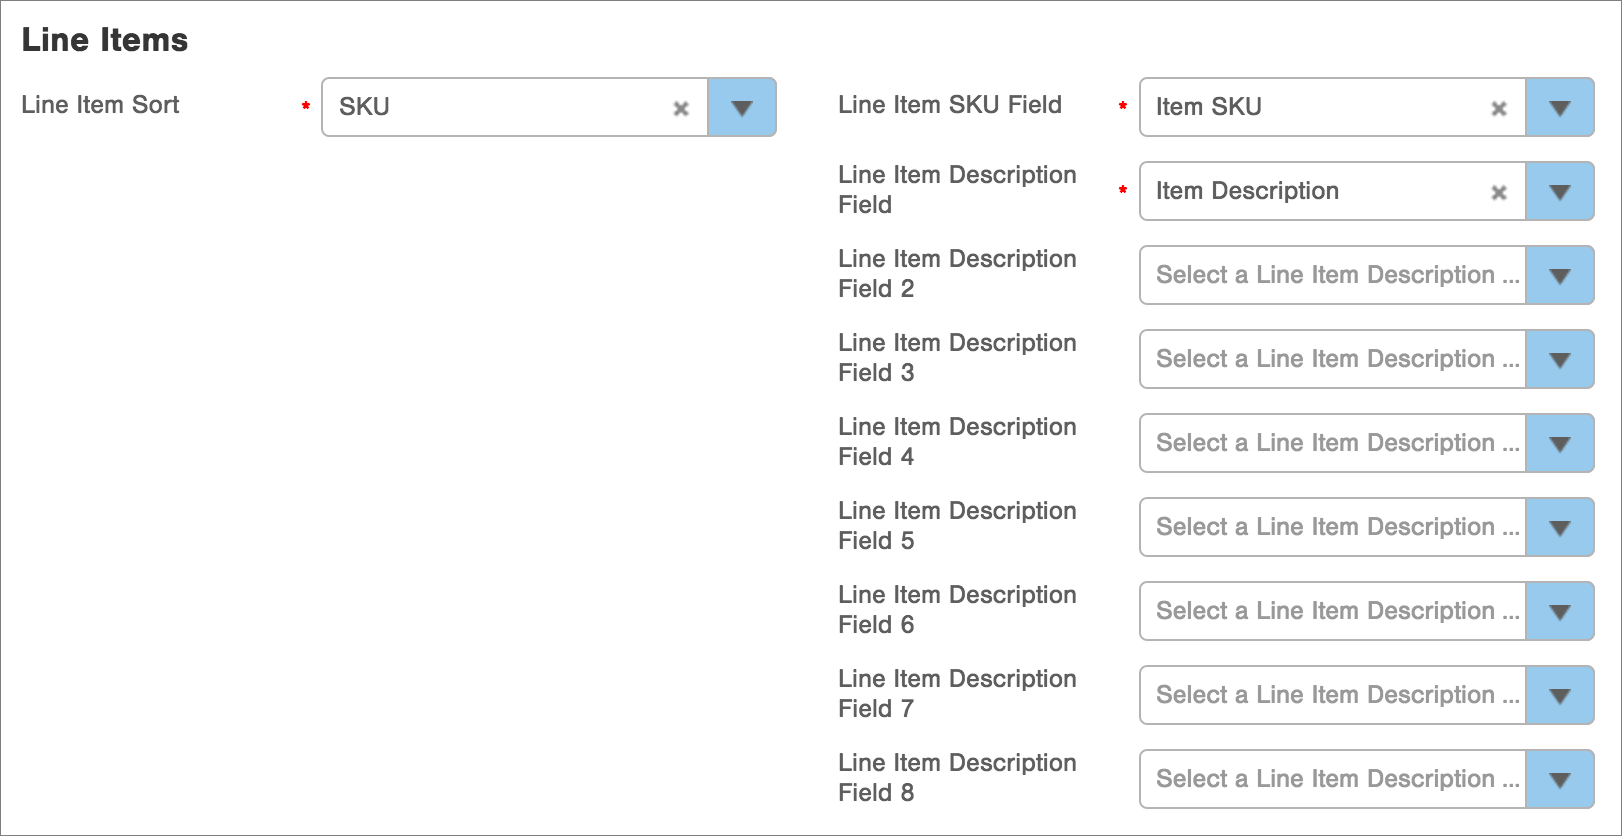
- In the Line Item Sort field, select how you want items sorted on the order invoice (i.e., by SKU, Location, Pick Position).
- In the Line Item SKU Field, select how you want the SKU to display (i.e., Item SKU, UPC, Vendor SKU, etc.).
NOTES:--- The column name displayed on the Order Invoice will always be “SKU”.
--- If you have created any Custom Fields for Items, these fields will appear in the list of options. If the Custom Field for an ordered Item is empty, the SKU value will appear on the Order Invoice.
- In the Line Item Description Field, select which description (Packing Slip Description, Item Description, Full Description, etc.) should be used as the main description for each line item on the order invoice. This information is pulled from the Item record. Here is a screenshot of an item record showing the three Description fields that contain descriptive text.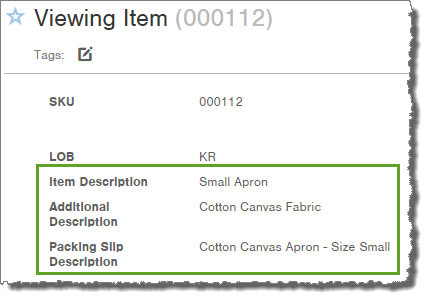 --- If you select Item Description, the "Item Description" from the Item record will appear on the Order Invoice.
--- If you select Full Description, the "Item Description" AND "Additional Description" from the Item record will appear on the Order Invoice.
--- If you select Packing Slip Description, the "Packing Slip Description" from the Item record will appear on the Order Invoice. NOTE: If you select Packing Slip Description and the field is blank in the Item record, the description will default to Item Description.
--- The following options are also available:
- If you select Vendor SKU, the “Vendor SKU” from the Item record will appear on the Order Invoice.
- If you select UPC, the “UPC” from the Item record will appear on the Order Invoice.
- If you select Product ID Tag, the Product ID that was assigned during allocation will appear on the Order Invoice. See Create and Use a Product ID Tag Scheme for more information.- If you have created any Custom Fields for the Item, these fields will also appear in the list of options for use on the Order Invoice.
Optionally, in the additional Line Item Description Fields numbered 2 through 8, select further descriptions that should also appear on the Order Invoice. These descriptions will be provided on separate lines beneath the main Line Item Description Field. -
In the Line Item Price Columns section, select which columns should appear on the invoice for each Line Item. Column options include Price Each, Discount Each, Quantity Ordered, Line Total, Line Discount Total, Quantity Shipped, and Quantity Backordered.
NOTES:
- The fields you select here will appear to the right of the Line Item SKU Field and the Line Item Description Field that you specified in the Line Items section.
- The fields you select here will be shown in order from right to left on invoices, meaning that Column Field 1 will be the farthest to the right.
- Column Label # fields display the text you type as a header for the Column Field # selected below it.Example: If you selected “Item SKU” and “Item Description” above, like this:

...and then you select “Line Total” for Column Field 1, “Quantity” for Column Field 2, and “Price Each” for Column Field 3, like this: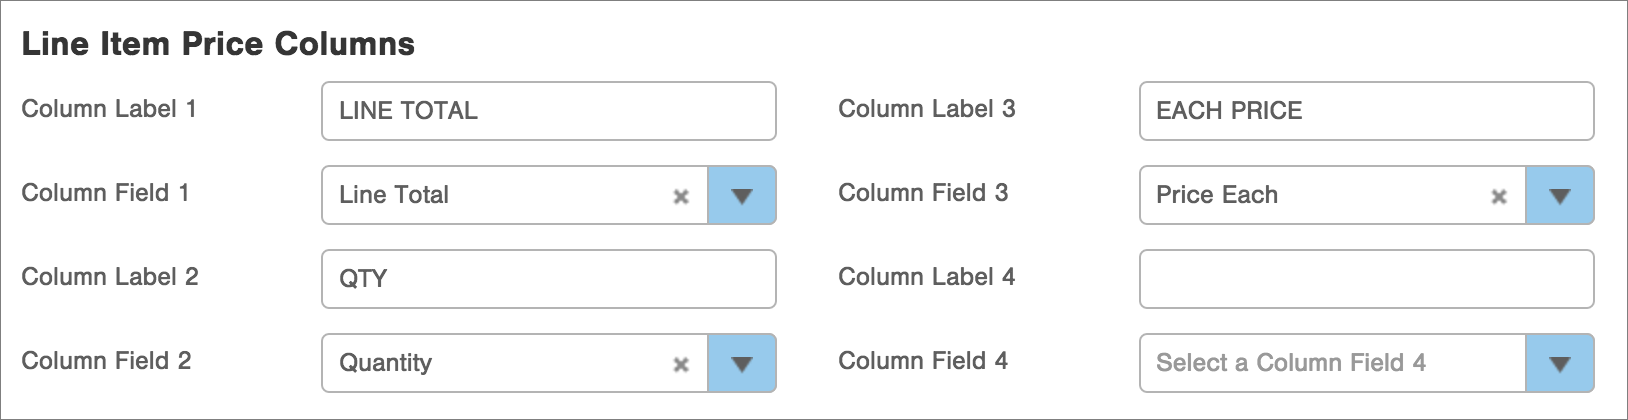
...the Order Invoice will display the fields from left to right in the following order using the associated Column Labels: “Item SKU”, “Item Description”, “Price Each”, “Quantity”, and “Line Total”:
-
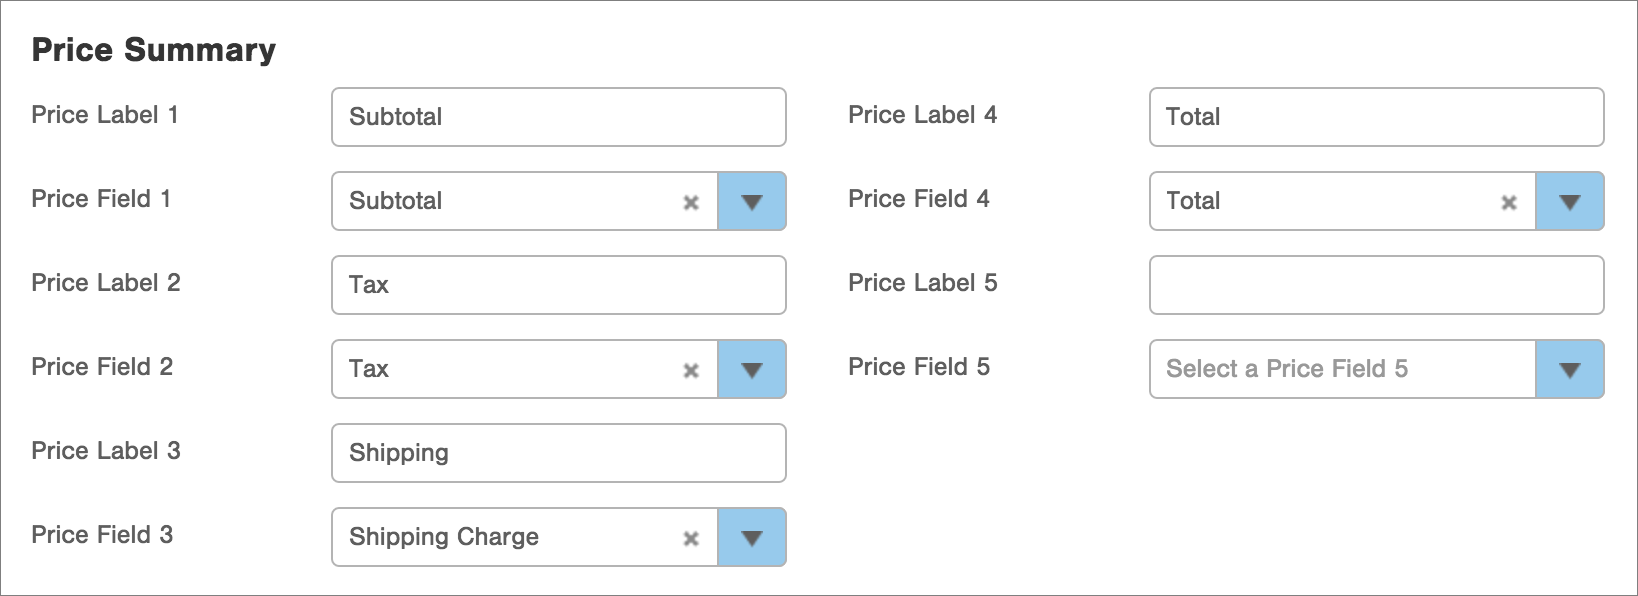
In the Price Summary section, select which fields should appear where totals are summarized on the invoice. Options include Subtotal, Total Discount, Shipping Charge, Tax, and Total.
NOTE: When the template is applied to an order that was bulk loaded and the optional Price Mode field was set to have “Push” as the Default Value, the values for any mapped fields in this section will appear on the Order Invoice. These values can be seen on the Order within the Payments tab.
- Price Label # fields display the text you type as a header for the Price Field # selected below it. Here is an example. If you type text into the section like this:
The Order Invoice will display the information like this (the layout determines placement and formatting of the text):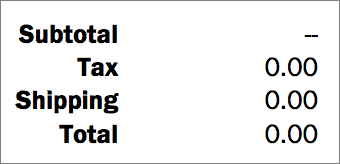
Detail, Message, and Operations Sections- In the Detail Sections 1-3, Message Sections 1-2, and Operations Section 1, fields are used as follows:
- Label fields display the text you type as a header for the section.
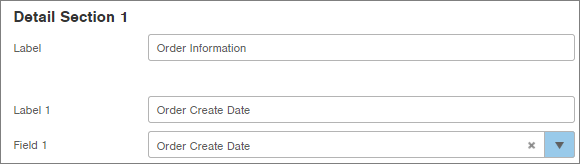
- Label # fields display the text you type as a header for the Field # selected below it. Here is an example. If you type text into the section like this:
The Order Invoice will display the information like this (the layout determines placement and formatting of the text):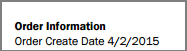
- Field # fields display information from the selected field (i.e., the "Order Create Date" field shown in the above example).Customized Text Tabs
-
The Custom Details, Custom Messages, and Customer Service tabs at the bottom of the window provide additional fields for the customized text. Text typed into any of these fields will display wherever the field name is selected in the above sections.
- Here is an example. If you type this information into the Customer Service tab: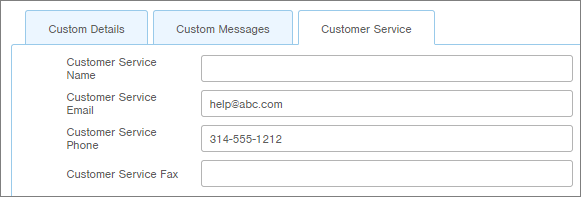
- And you select this information in one of the sections: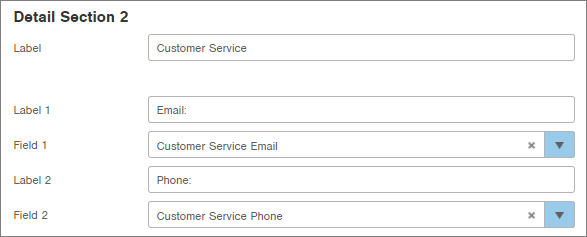
- The Order Invoice will display the information like this (the layout determines placement and formatting of the text):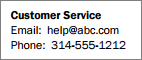
- When you are finished with the template, click Save. The template will be available to create Order Invoices. NOTE: You will be able to add a logo to the Order Invoice Template after saving the template. If you need to edit the template, simply click the Edit button in the Template record.
Add a Logo to an Order Invoice Template
You must first save the Order Invoice Template to add a logo.
- Access the “Order Invoice Template” table. (See instructions above.)
- Click on the Order Invoice Template you want to add a logo to.
- Click the Edit button in the bottom right.
- In the Attach Logo Image area, either drag and drop a logo onto the area or click the icon to select a logo on your computer.
- When you are finished adding a logo, click Save.
Preview an Order Invoice Template
- Access the “Order Invoice Template” table. (See instructions above.)
- Click on the Order Invoice Template you want to preview.
- Click the Actions button and select Preview Order Invoice Template. The Setup step in the preview process appears.

- Select an Order to use for the preview. Only "Processed" and "Shipped" Orders will be available for selection.
NOTE: Click the Search link to search for an order. - Click Next. The Review step in the preview process appears.

-
Review the Results. If a preview can be generated, a green arrow will display. If a preview cannot be generated, a red X will appear with a detailed message.
-
Click Submit. The Download Screen will appear.
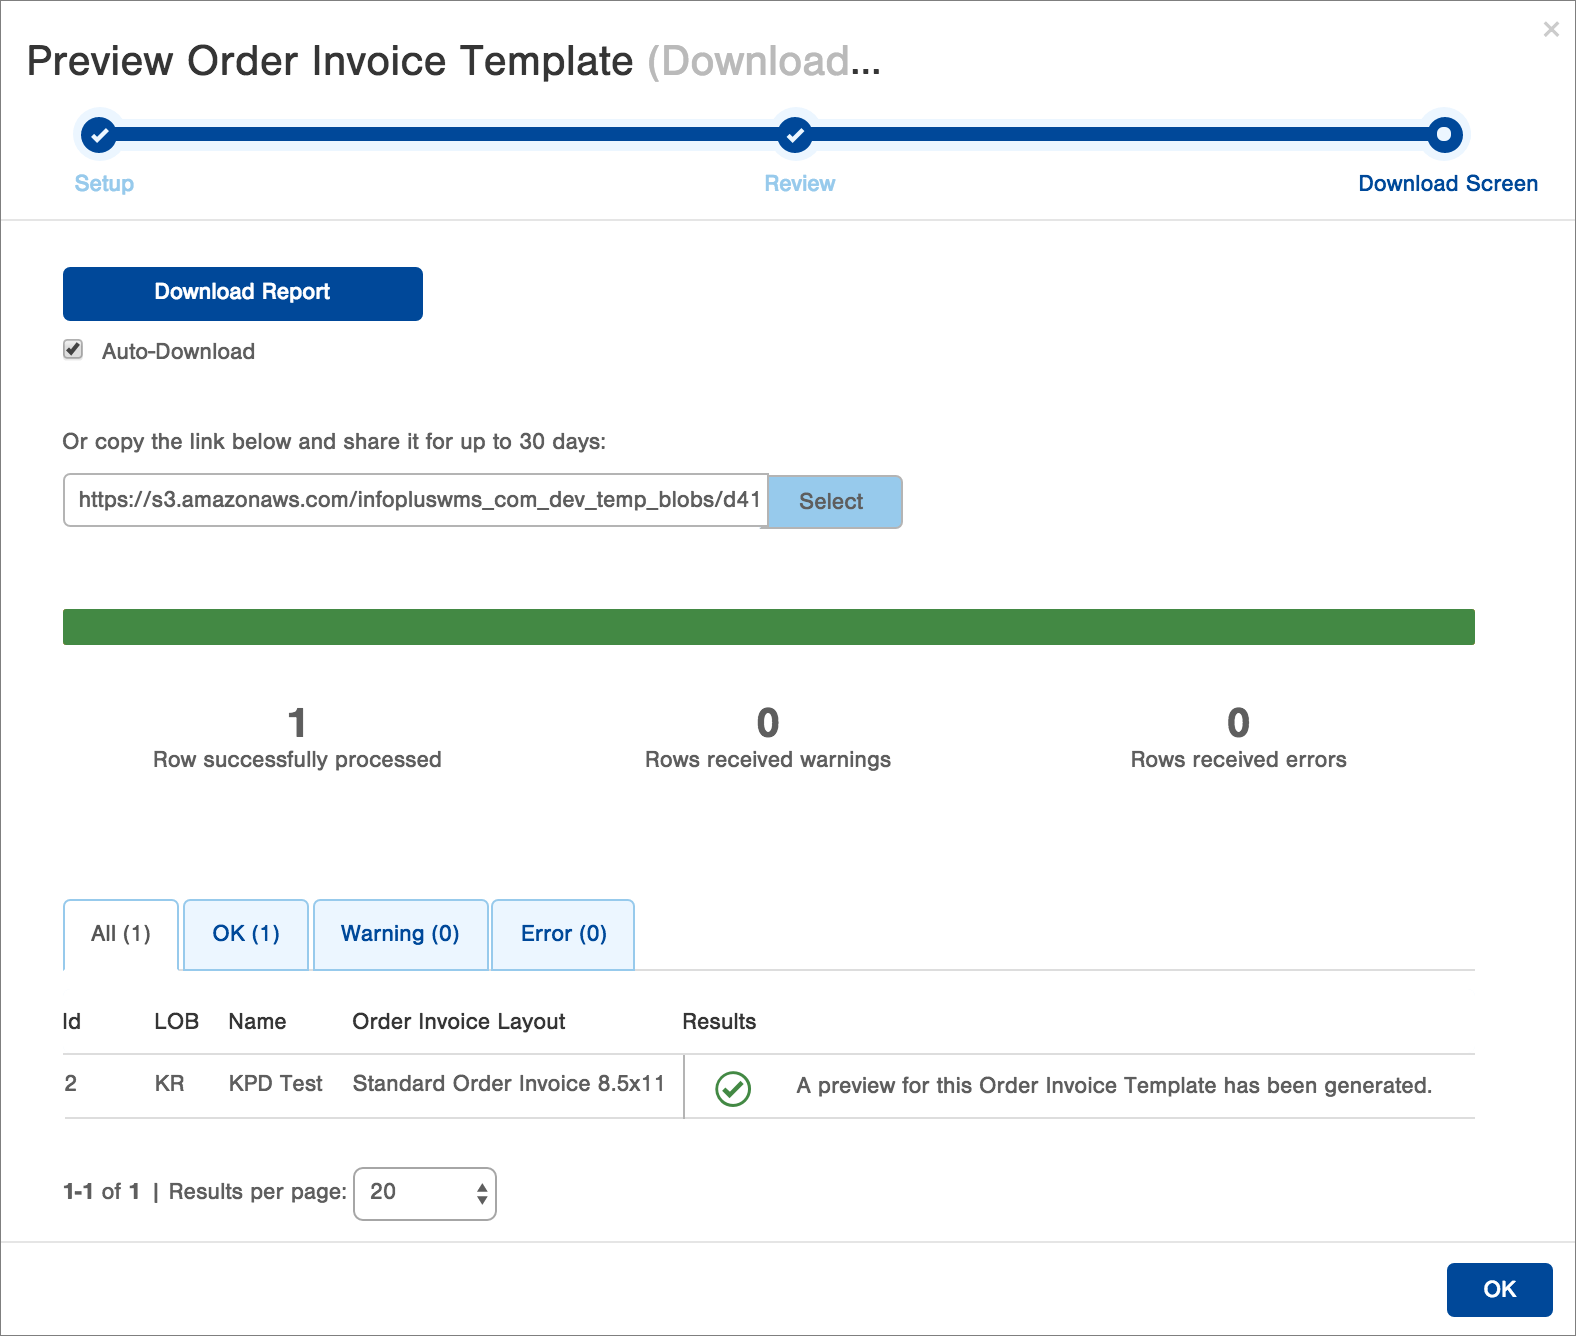
-
If the preview was not automatically downloaded to your computer, click the Download Report button. A separate tab will open with the preview.
Duplicate an Order Invoice Template
If the template you want to create is similar to an existing template, use the Duplicate action.
- Access the “Order Invoice Template” table. (See instructions above.)
- Click on the Order Invoice Template you want to duplicate.
- Click the Actions button and select Duplicate. The Duplicate Order Invoice Template screen appears with all fields completed from the original template.
- Modify the template as needed.
- Click Save when finished.
