Add / Update Custom Logos to Replace Infoplus Branding
Users have the ability to add custom branded logos to three different areas of their Infoplus site to replace the Infoplus branding:
- Top left Infoplus logo on every page:
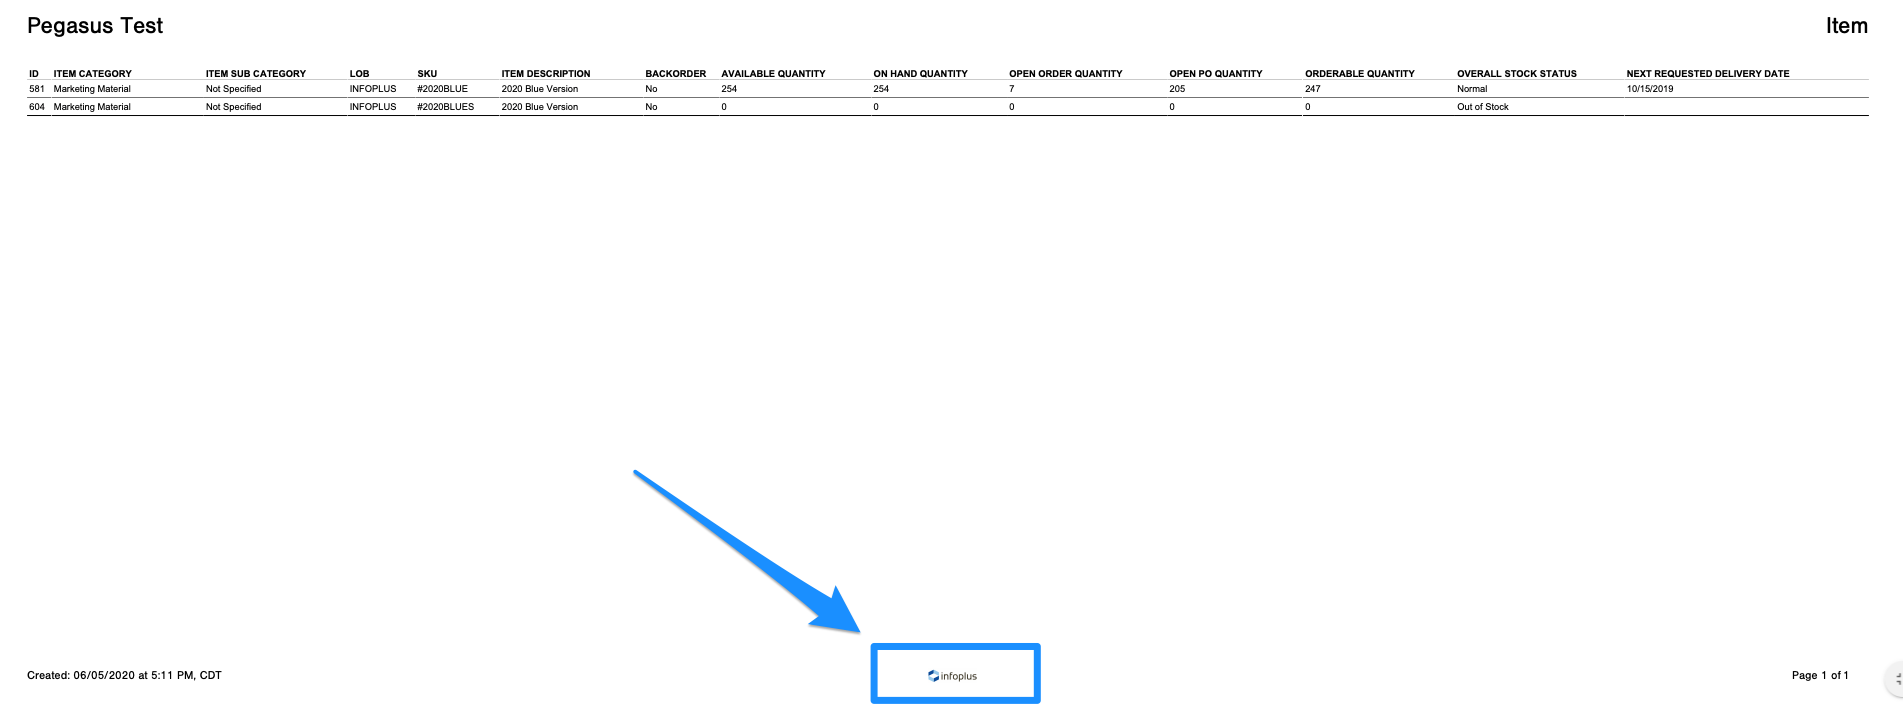
- Infoplus logo when exporting PDFs:
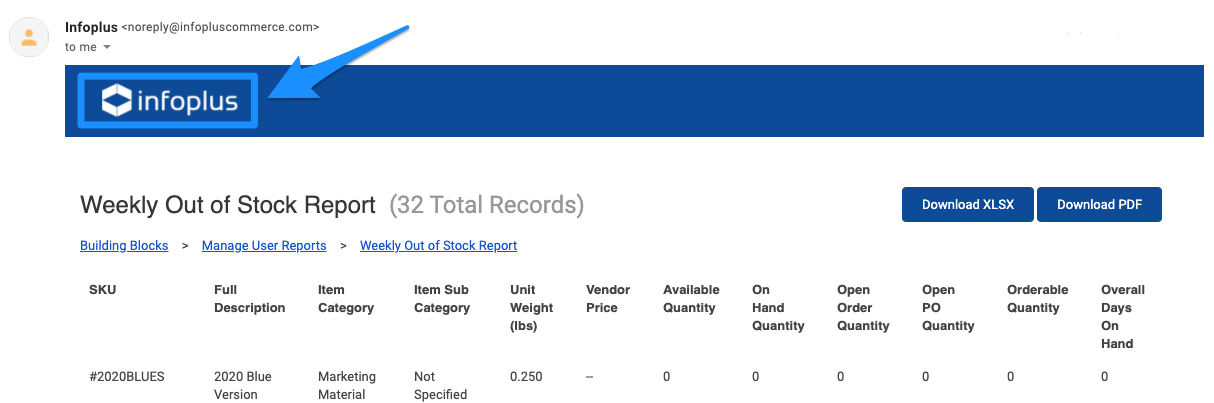
- Infoplus logo when reports are emailed through scheduled reports:
How to Add Branding Logos
- Access the "Logo" table. Two methods:
- From the Dashboard: Click the “Apps” tab, click the “Account Setup” App, then click the “Logo” Table.
- From the Quick Actions shortcut: Press a dot (period) on your keyboard, then select “Logo” from the list of Quick Actions.
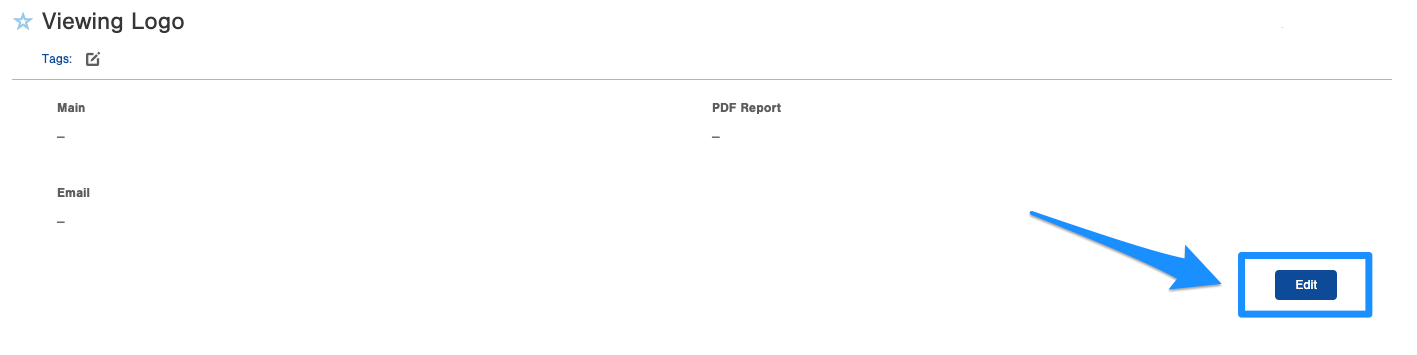
- Once on the Logo table, click the Edit button on the bottom right of the screen:
- From there you will be able to add the logo(s) for each type
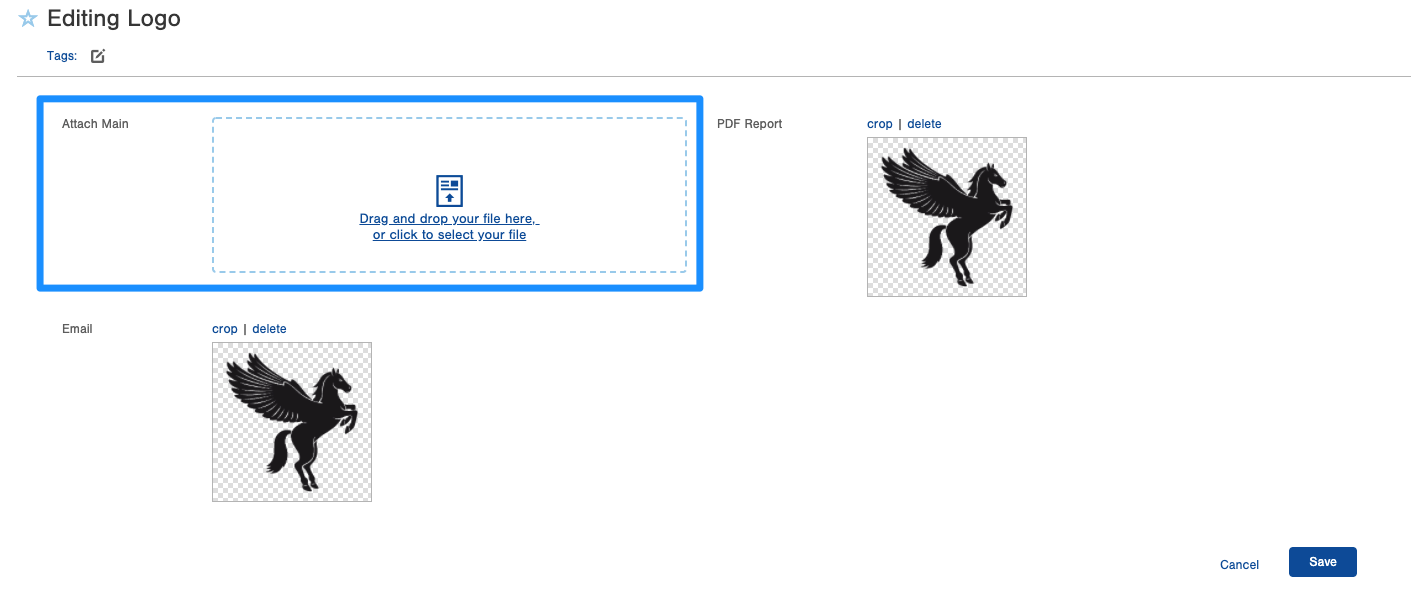
- Attach Main - This replaces the top left Infoplus logo on every page.
- It is suggested to use a white image on a transparent background but any color scheme can be used.
- Attach Email - this replaces the Infoplus logo when reports are emailed through scheduled reports.
- It is suggested to use a black image on a transparent background but any color scheme can be used.
- Attach PDF Report - this replaces the Infoplus logo when exporting PDFs.
- It is suggested to use a black image on a transparent background but any color scheme can be used.
- Attach Main - This replaces the top left Infoplus logo on every page.
- Once complete, click Save.
How to Edit Branding Logos
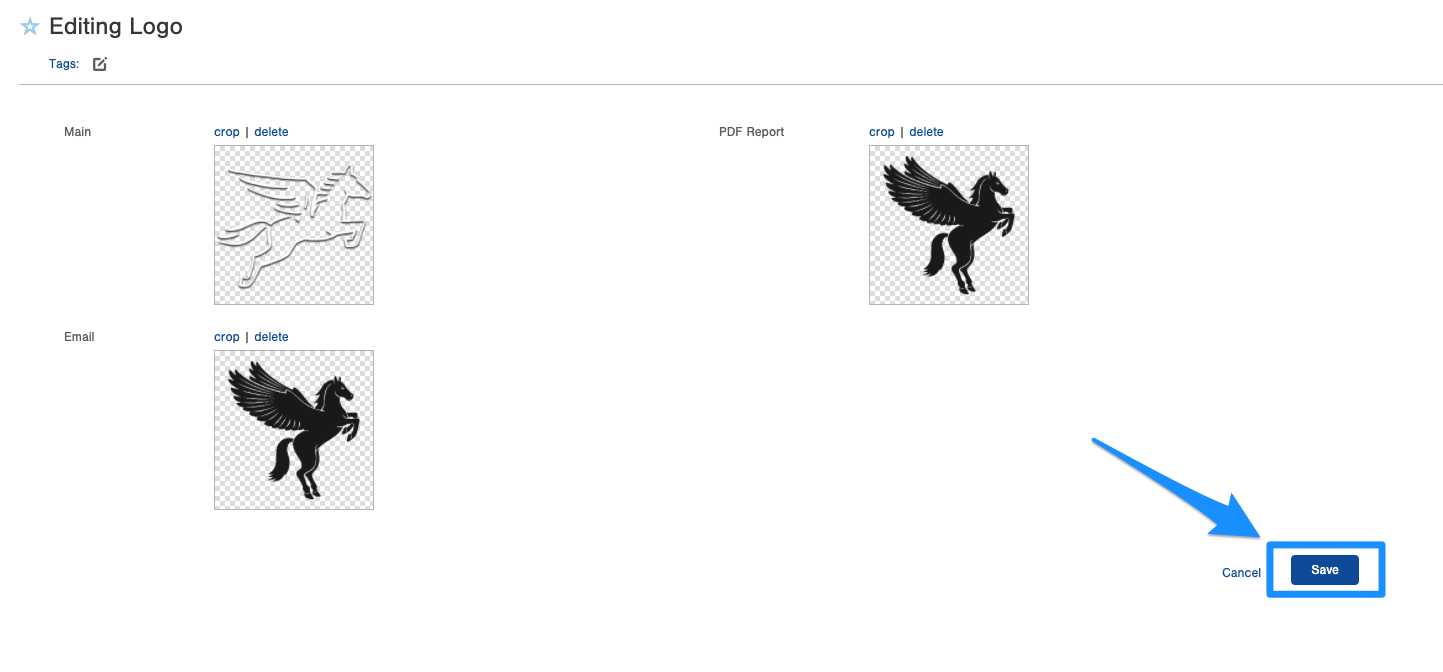
- On the Logo table, click the edit button at the bottom right:

- Click the Delete button next to the image that needs updated:

- Then add the updated logo:
- Once complete, click the Save button at the bottom right of the page.
