What are Loads?
Infoplus Loads is a new feature in Infoplus that allows the building and tracking of FTL/LTL and non-parcel orders. Loads are designed to help warehouses to build pallets and master cartons in the Infoplus Mobile Apps. Loads contain three main behavior types:
- Outbound Pallet - Built, shipped, and staged pallet that contains Master Cartons and Cartons.
- Outbound Master Carton - Built, shipped, and staged Master Carton that contains Cartons.
- Staged Cartons - Built and Staged in Location Cartons. Cannot be shipped.
Why Loads are Used?
Loads give Infoplus users the ability to build, ship, and stage master cartons and pallets. Using the Warehouse Mobile Apps, warehouse users can now do the following:
- Build Pallets or Master Cartons
- Ship and Unship Pallets or Master Cartons
- Generate GS1-128 Labels
- Stage packed inventory to be shipped in the future
- Generate and Track LTL/FTL Shipment Tracking Numbers
What Data is Needed to Build a Load?
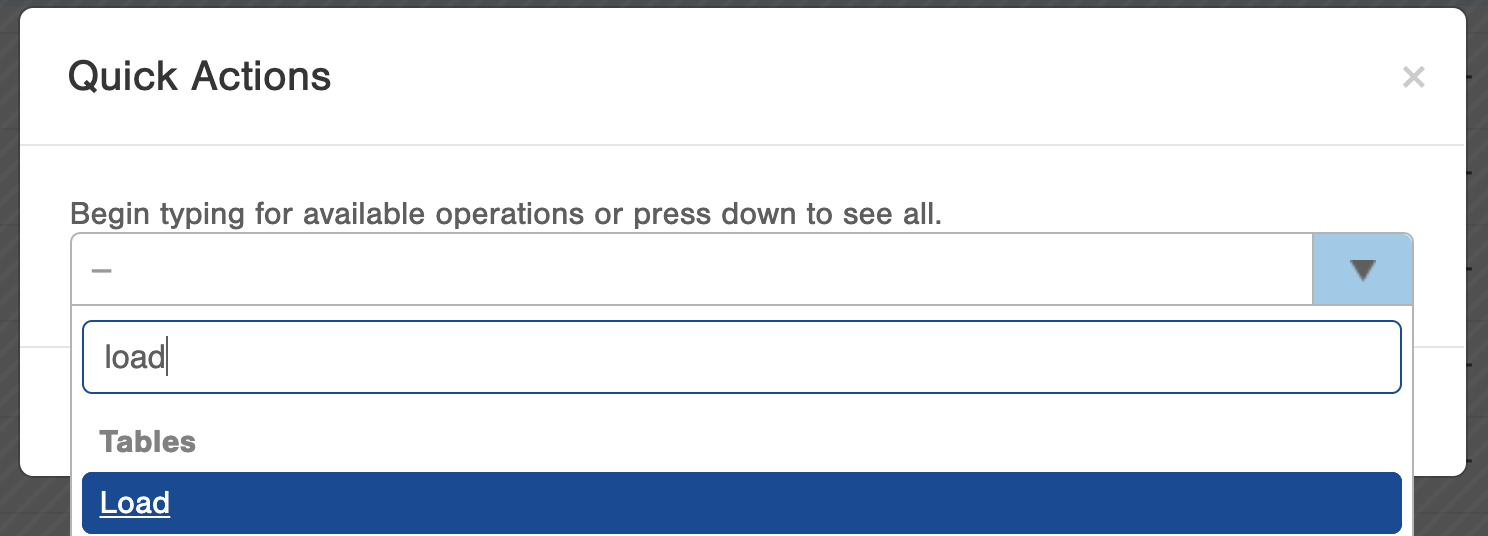
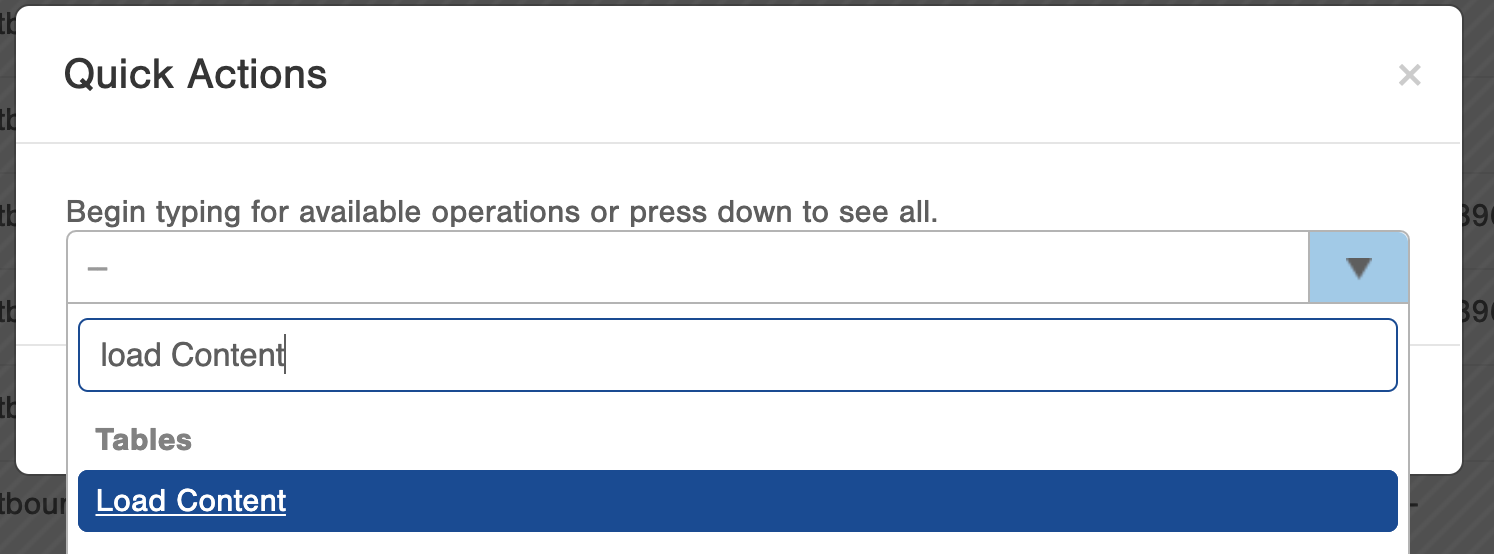
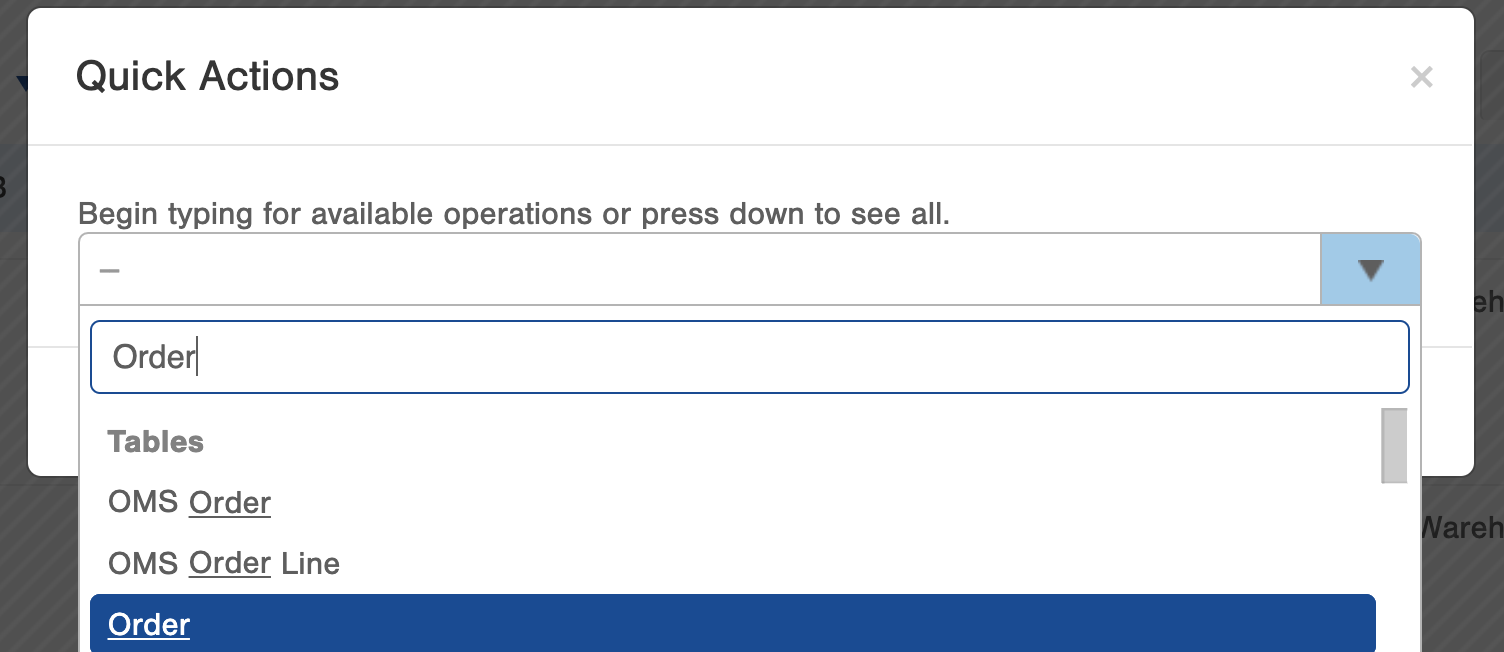
To view what data is needed, visit the Load table Infoplus by using your quick actions menu.
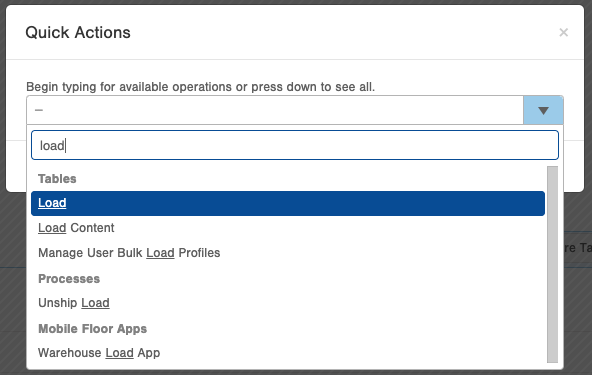
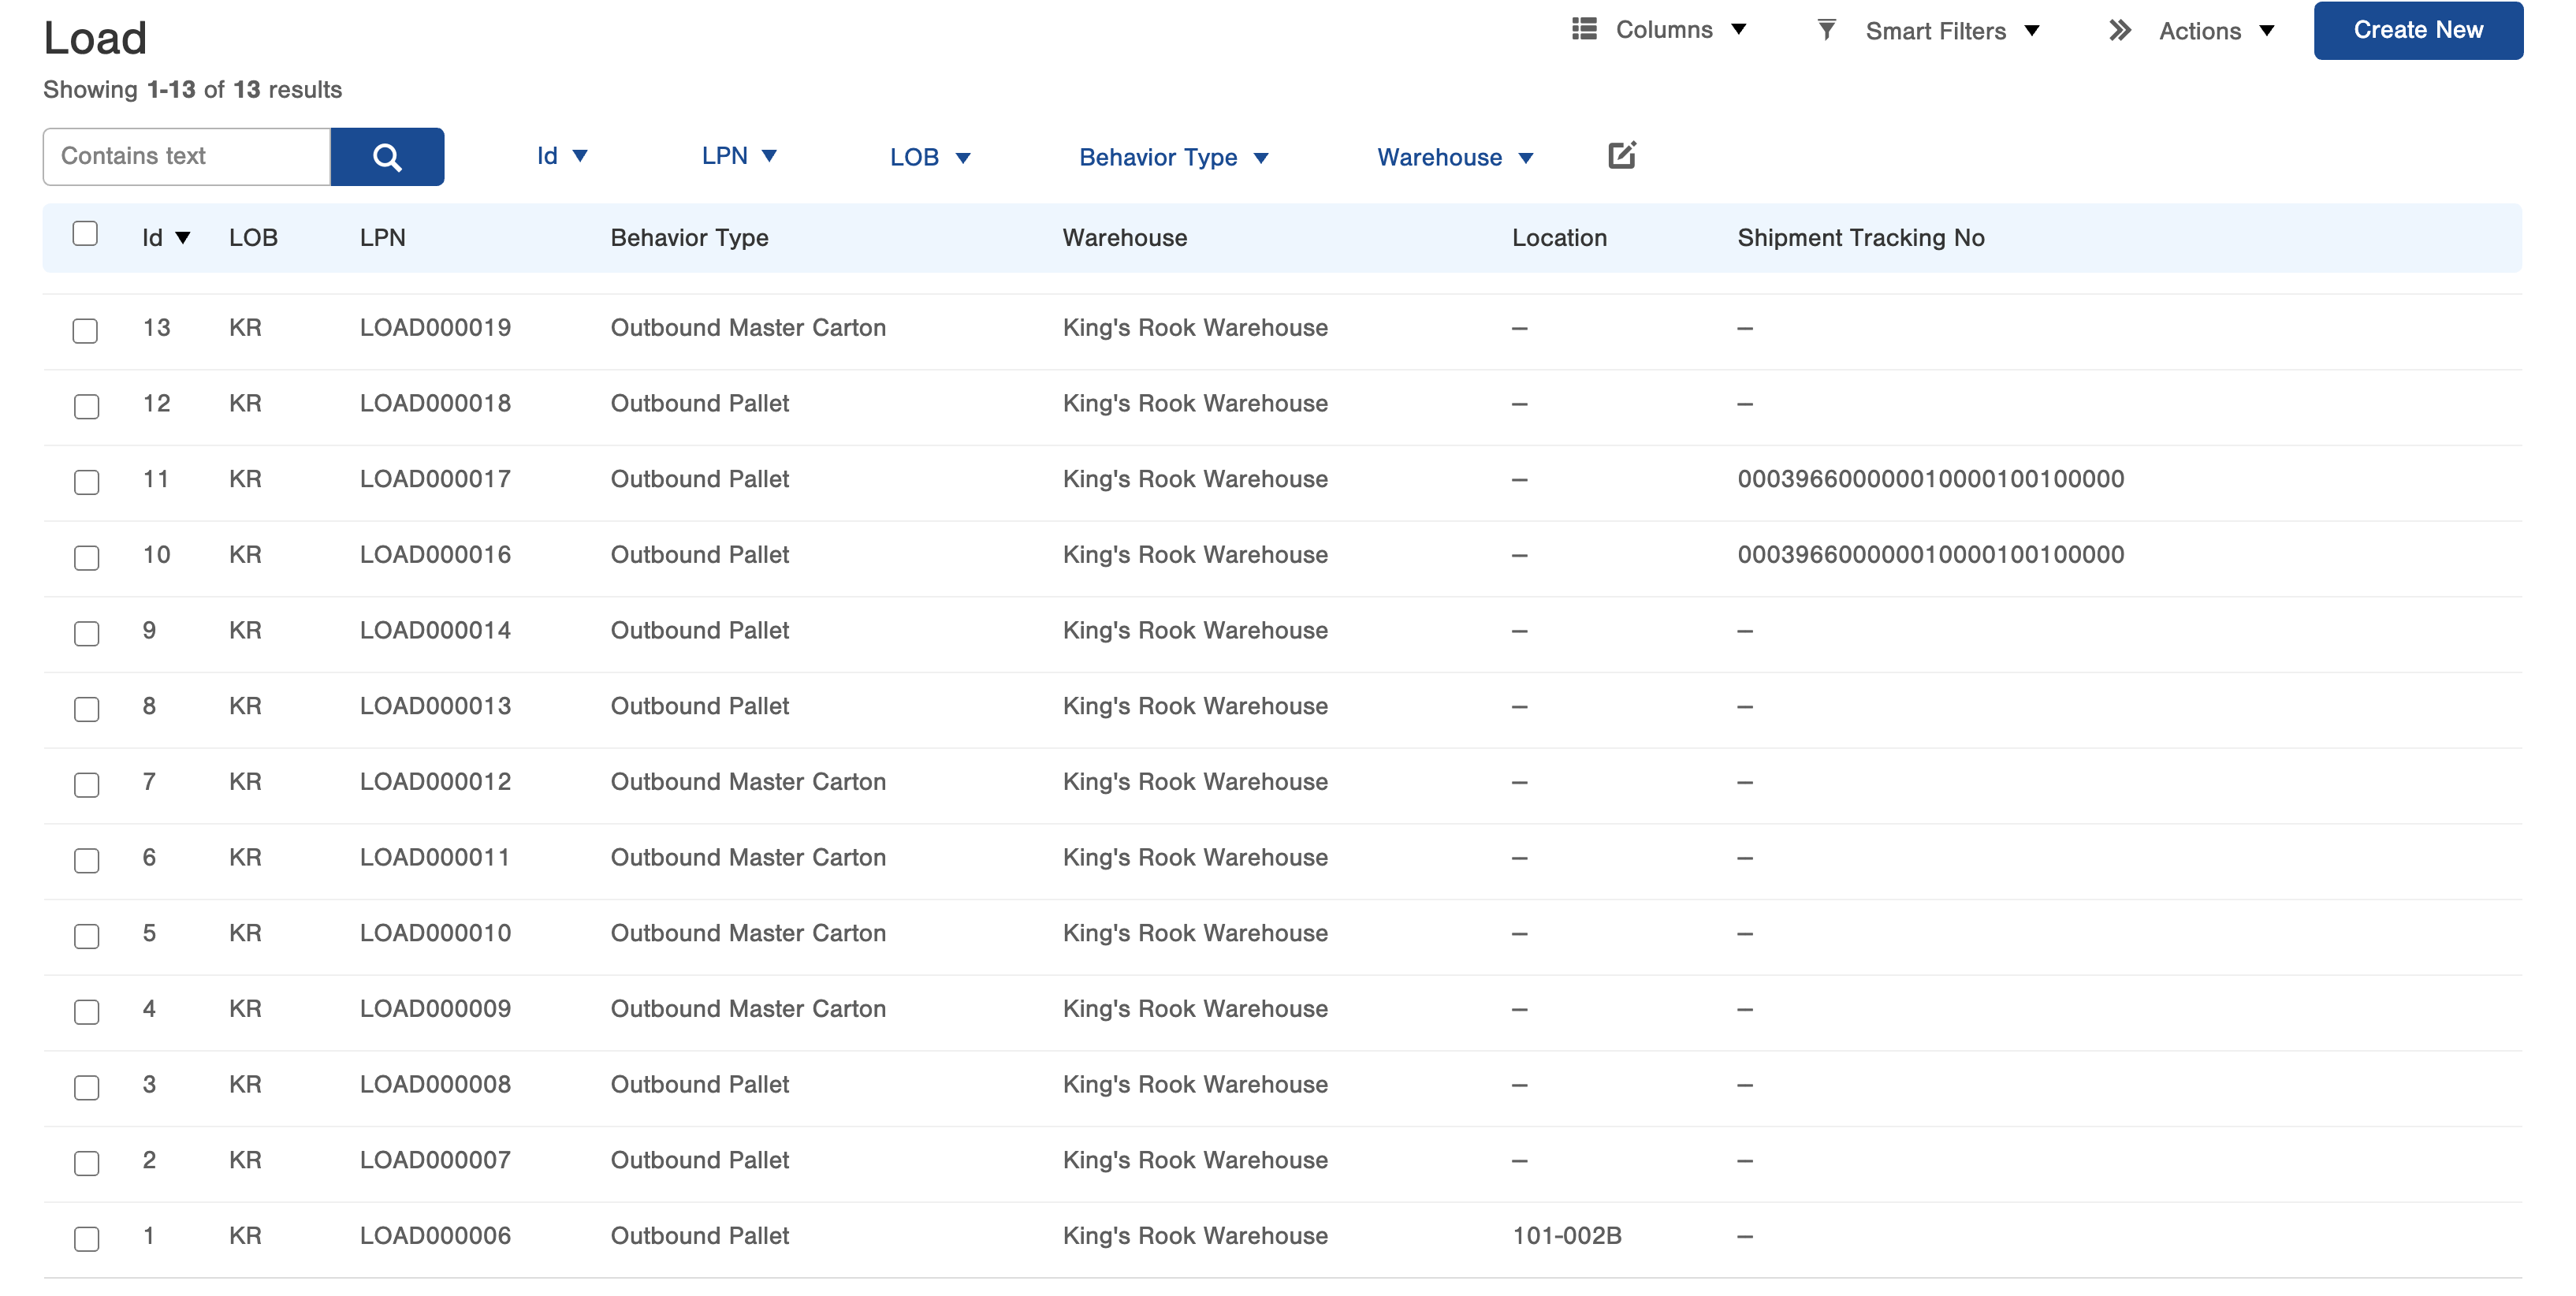
The next screen will be the Load table. Previously created Loads will be listed with the ability to filter and sort.

By clicking into a Load, we can see the contents and data that make up the record. The fields are defined below.
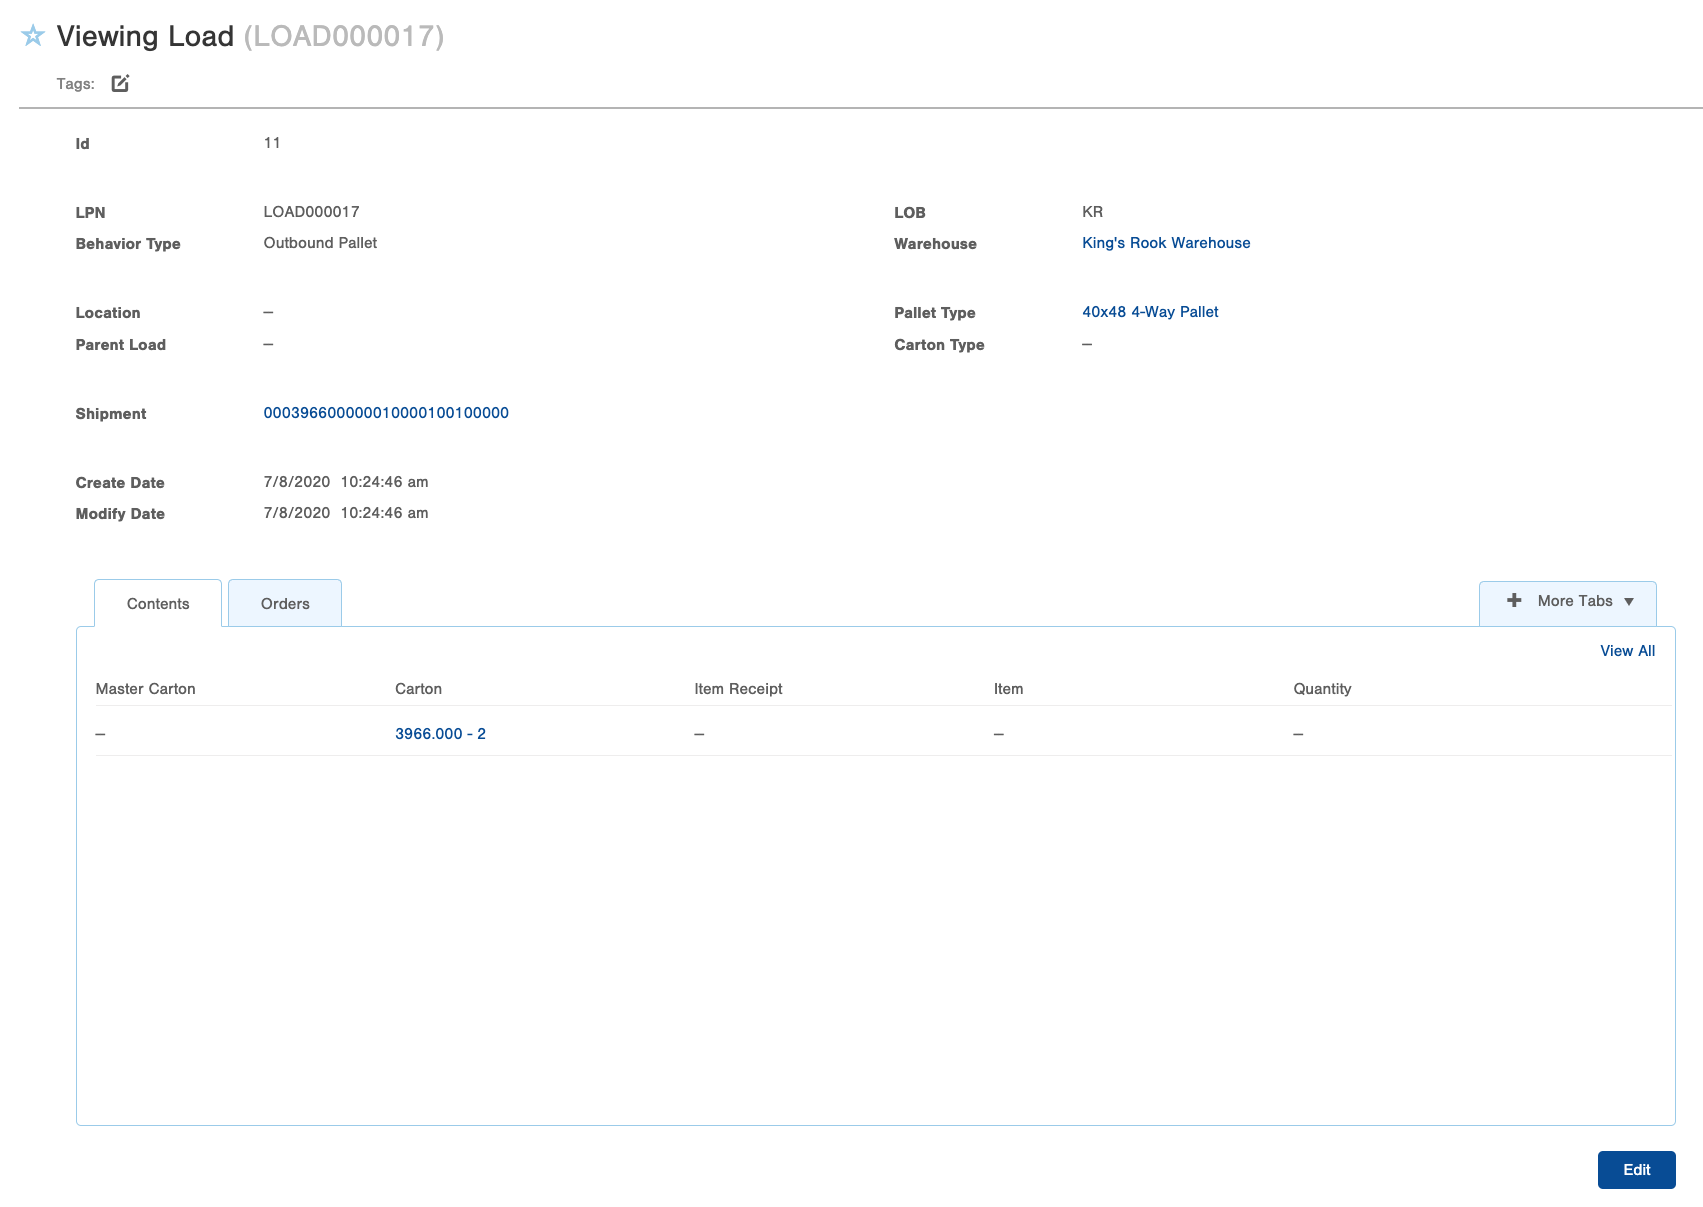
| Field | Definition |
| LPN | License Plate Number used to identify a specific Load. The number cannot be duplicated and can be auto-generated. |
| Behavior Type | Behavior Type defines the Load. Outbound Pallet - Built, shipped, and staged pallet that contains Master Cartons and Cartons. Outbound Master Carton - Built, shipped, and staged Master Carton that contains Cartons. Staged Cartons - Built and Staged in Location Cartons. Cannot be shipped. |
| Location | Defines the area the Load is currently located. |
| Parent Load | Defines the hierarchy of the Load. Outbound Master Carton loads can be added to Outbound Pallet Loads. |
| Shipment | Tracking number generated when the load is shipped. Shipment can be auto-generated in Infoplus |
| Pallet Type | Defines the specific type of pallet being used for the load. See Pallet Type. |
| Carton Type | Defines the specific type of carton being used for the load. See Carton Type. |
| Contents Tab | Displays the contents of the Load |
| Orders Tab | Displays the orders built into the Load |
How Do Loads Interact with My Locations?
Loads consist of orders with items pulled from the inventory. Loads give the user the ability to stage and track in the warehouse using Infoplus. When staging a Load, the items will not be added back into your inventory. Locations can be determined if they allow Loads, Inventory, or both. See Create/Edit Location for more details.
Where Does the Load Data Live?
Load Table
Using your quick actions menu, navigate to the Load table.
The Load table will display the Loads that have been created. Add columns for more details and filter to customize your view.
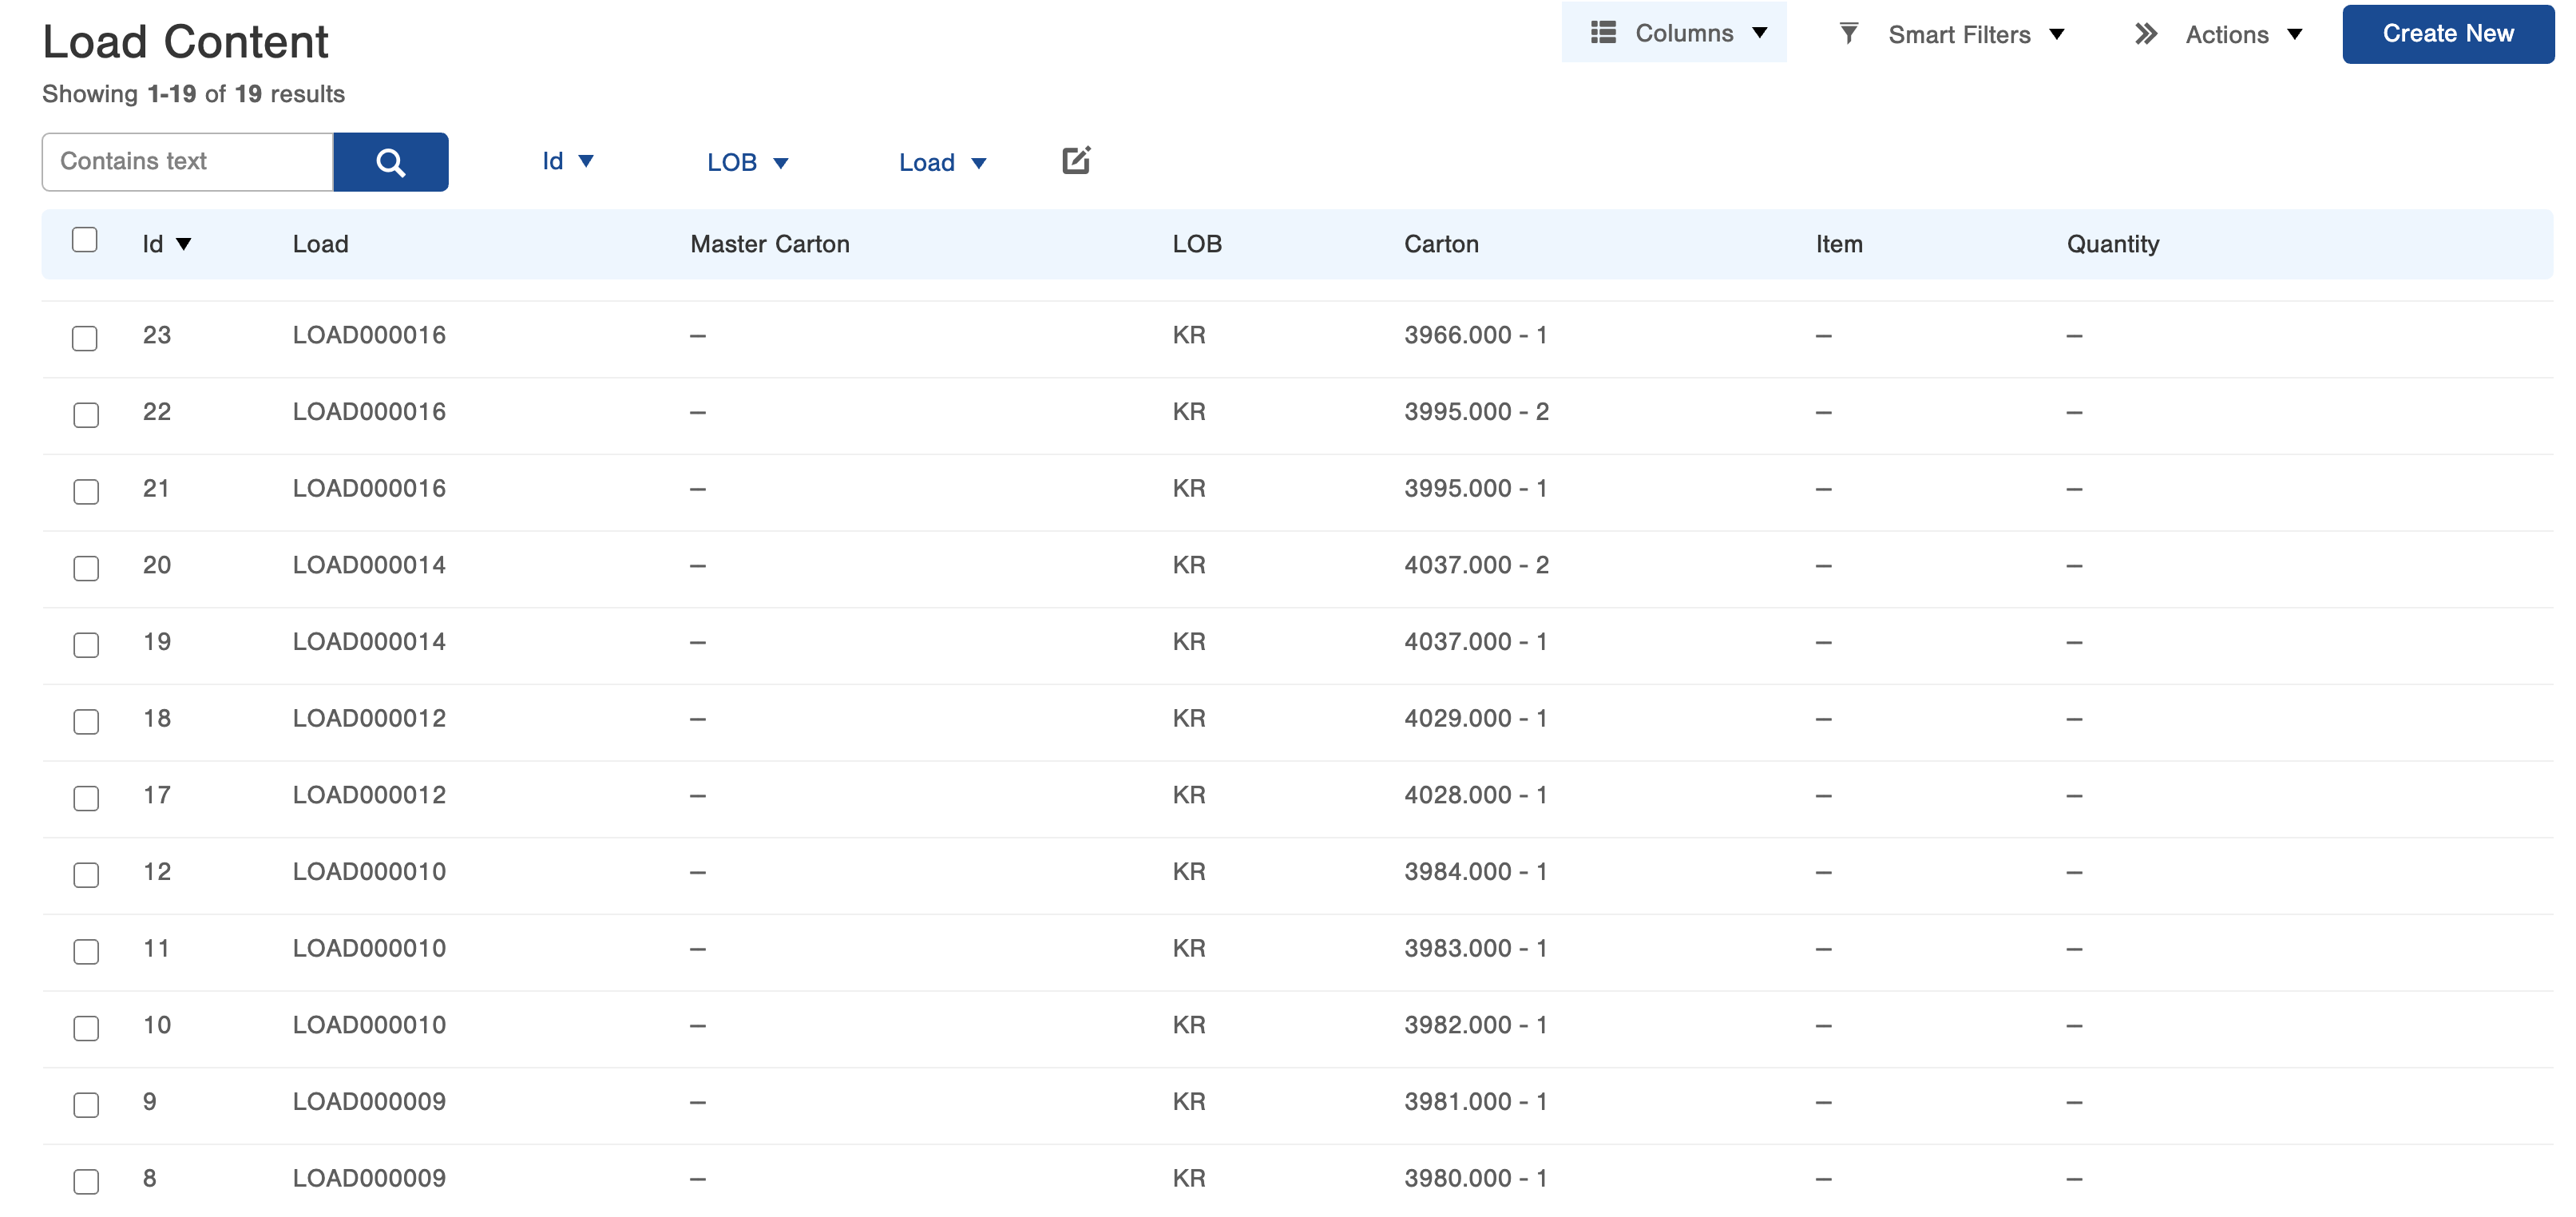
Load Content Table
Navigate to the Load Content Table to view the line items in a load.
Below is the Load Content View.
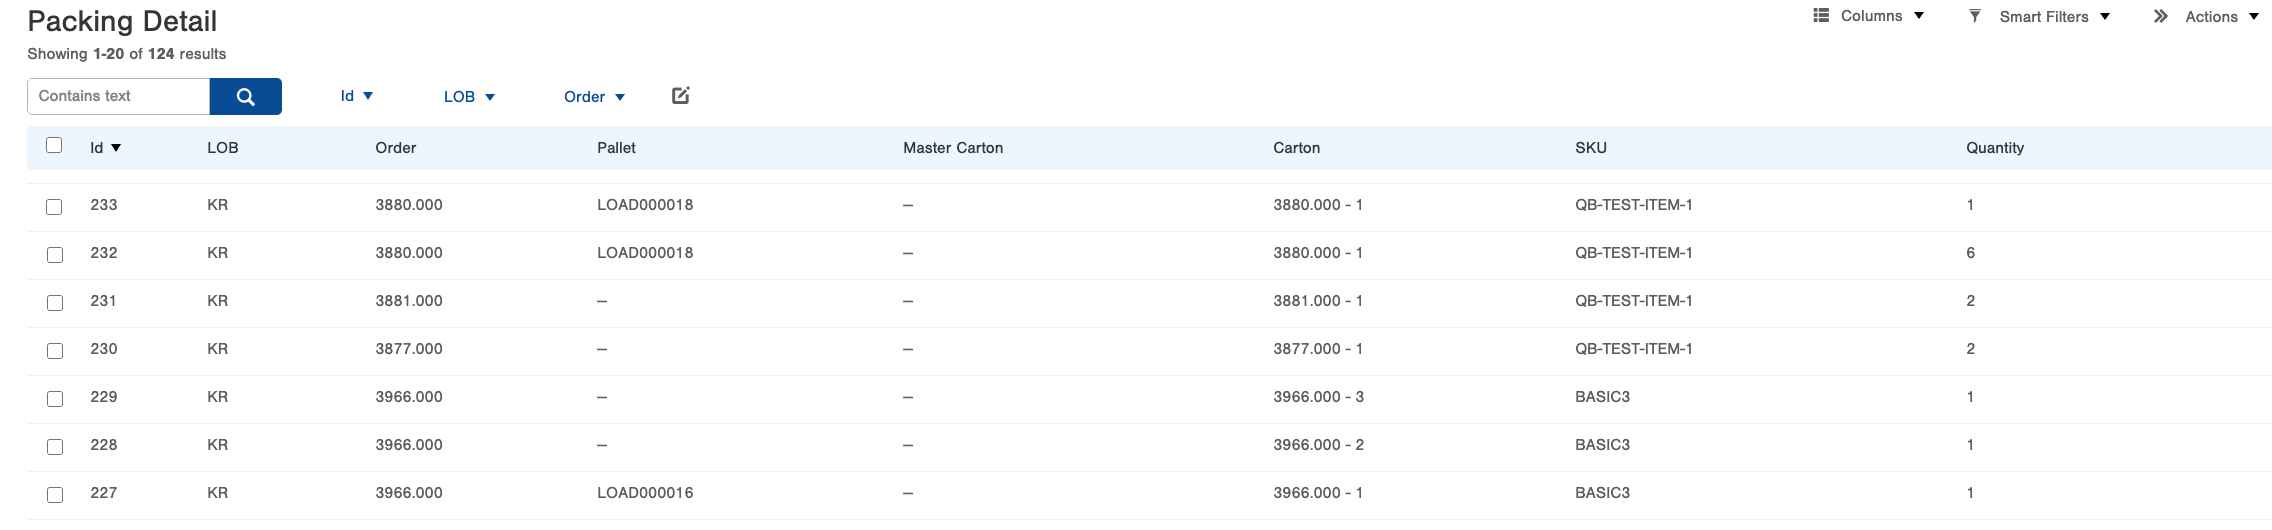
Packing Detail
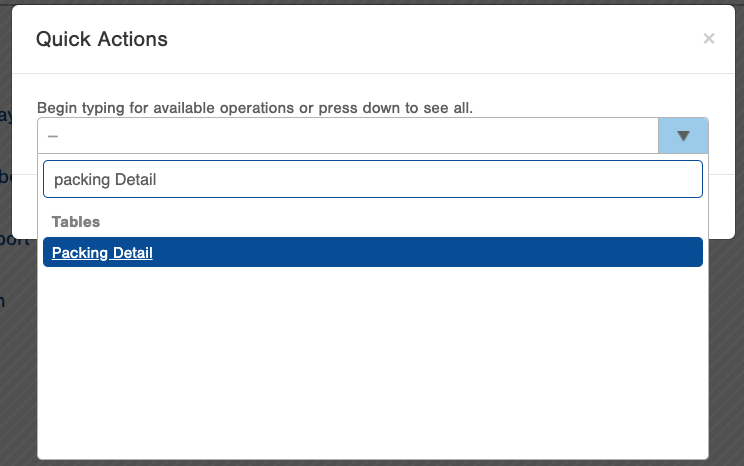
Navigate to the Packing Detail page.
The Packing Detail will display the load contents in a flattened layout. One line will represent one item in a load.
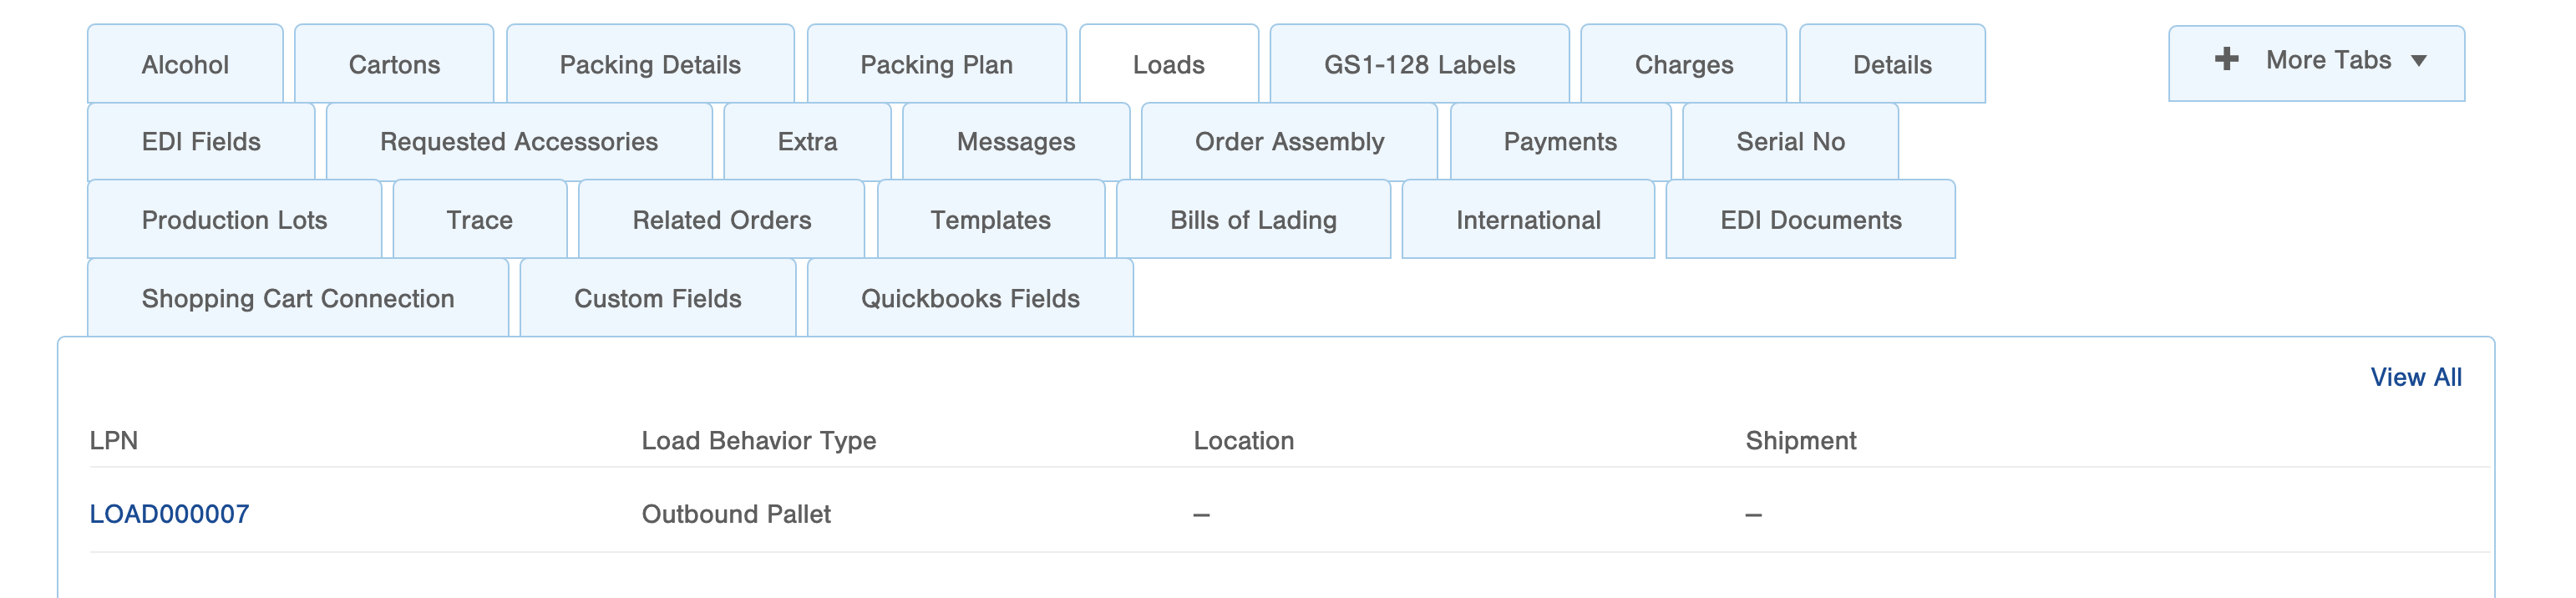
Order Table
Navigate to the Order Table and select the order that has been packed into a load.
In the tabs below, select "More Tabs" and add the Loads tab. The Loads tab will display the current load the order lives on.
Pre-Requisites
If GS1's are needed, first create GS1 template(s) and assign them to the correct order source(s).
If you have multiple pallet types, make sure to get them all created within the Pallet Type table.
Using Loads
Loads is available for any Infoplus users to take advantage of. If your organization doesn't have GS1 requirements there is no additional configuration necessary.
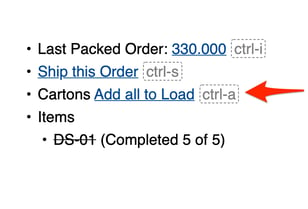
To use Loads, simply take an order through the Infoplus Pack Station as normal but instead of "Ship this Order", select "Add all to Load".
If there is an existing load that the carton should be included with, simply scan the existing Load LPN. Otherwise, create a new LPN by pressing Create new Load. (Note that a Load can only contain cartons assigned to one carrier service at a time.)
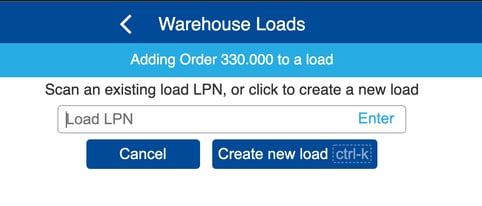
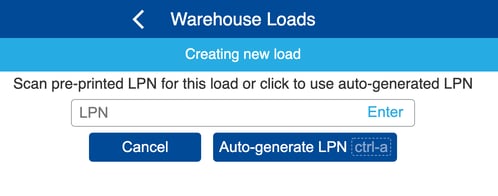
When creating new loads, users will have the option to scan a pre-printed LPN or can choose to auto-generate one automatically.
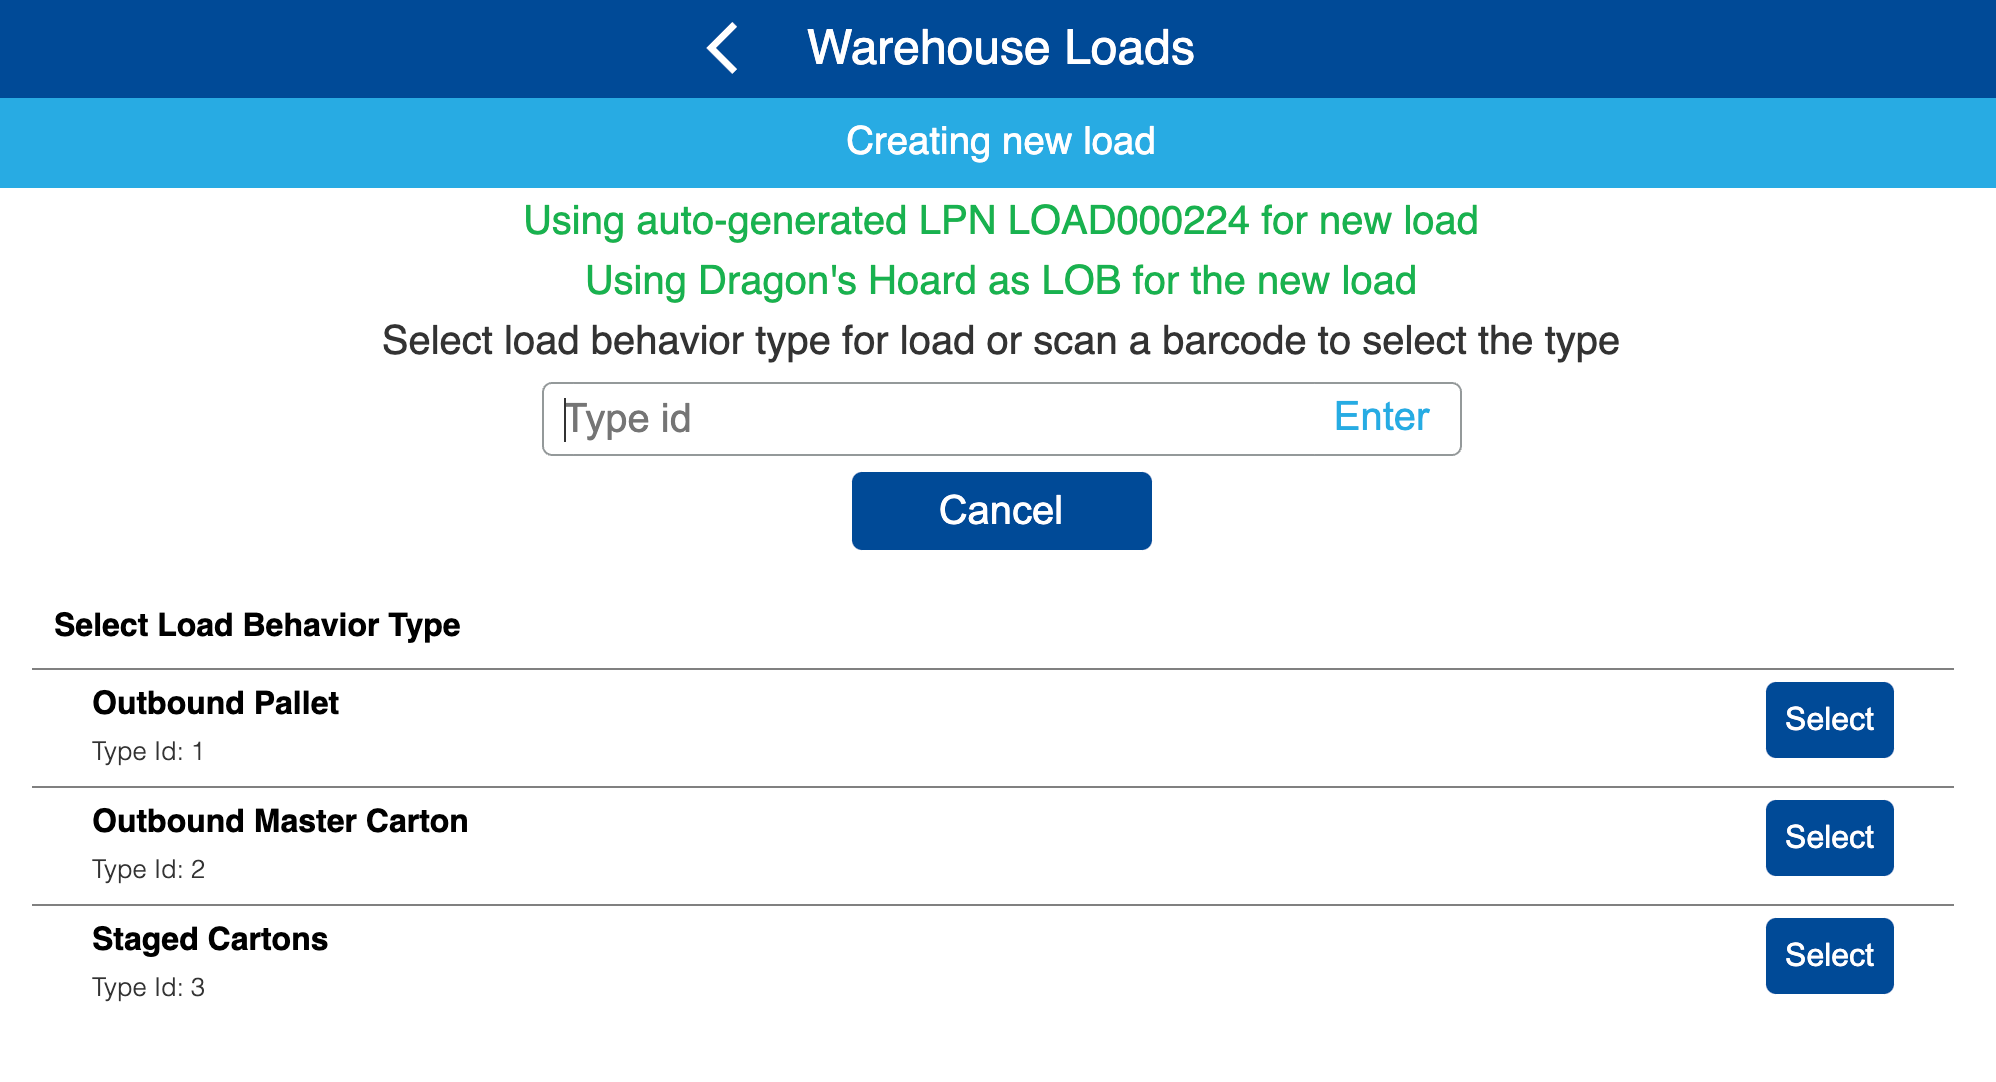
Choose the appropriate Load Behavior Type.
- Outbound Pallet - Built, shipped, and staged pallet that contains Master Cartons and Cartons.
- Outbound Master Carton - Built, shipped, and staged Master Carton that contains Cartons.
- Staged Cartons - Built and Staged in Location Cartons. Cannot be shipped.
Note that Master Cartons and Staged Cartons can be added to an Outbound Load.
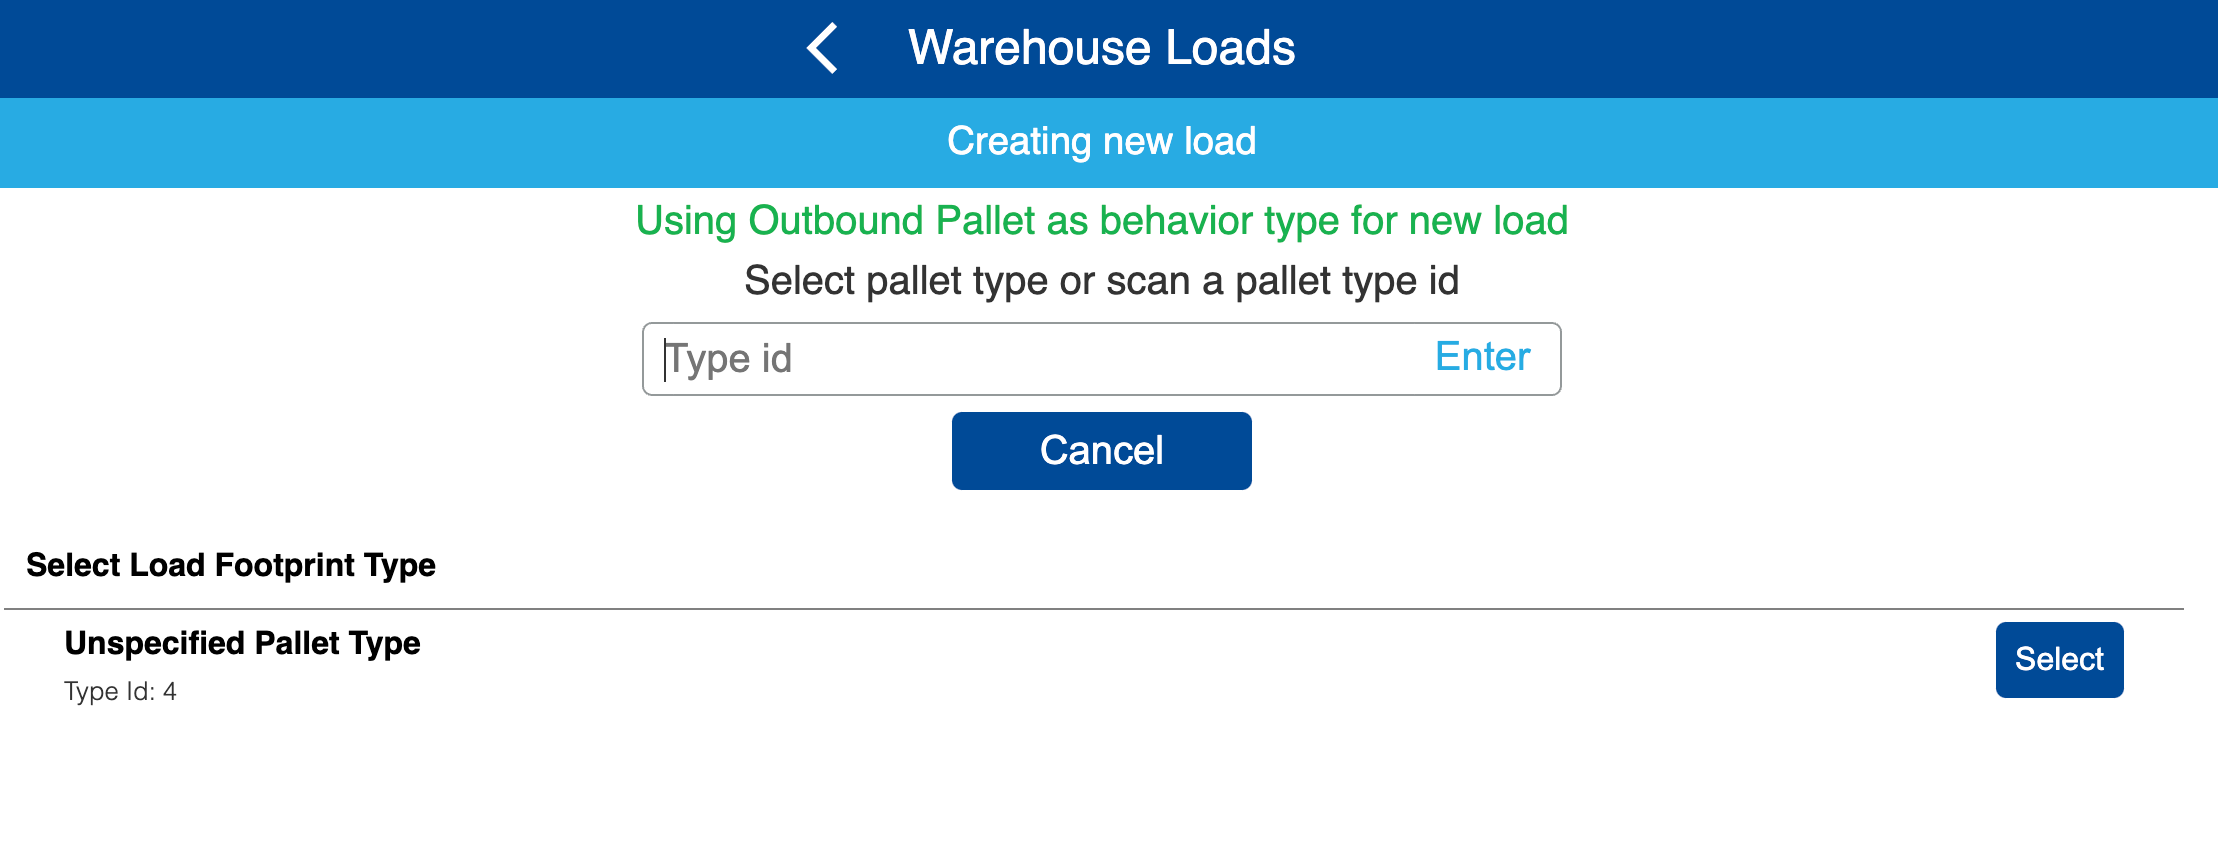
If Outbound Pallet is selected, users will get a prompt to choose the Pallet Type.
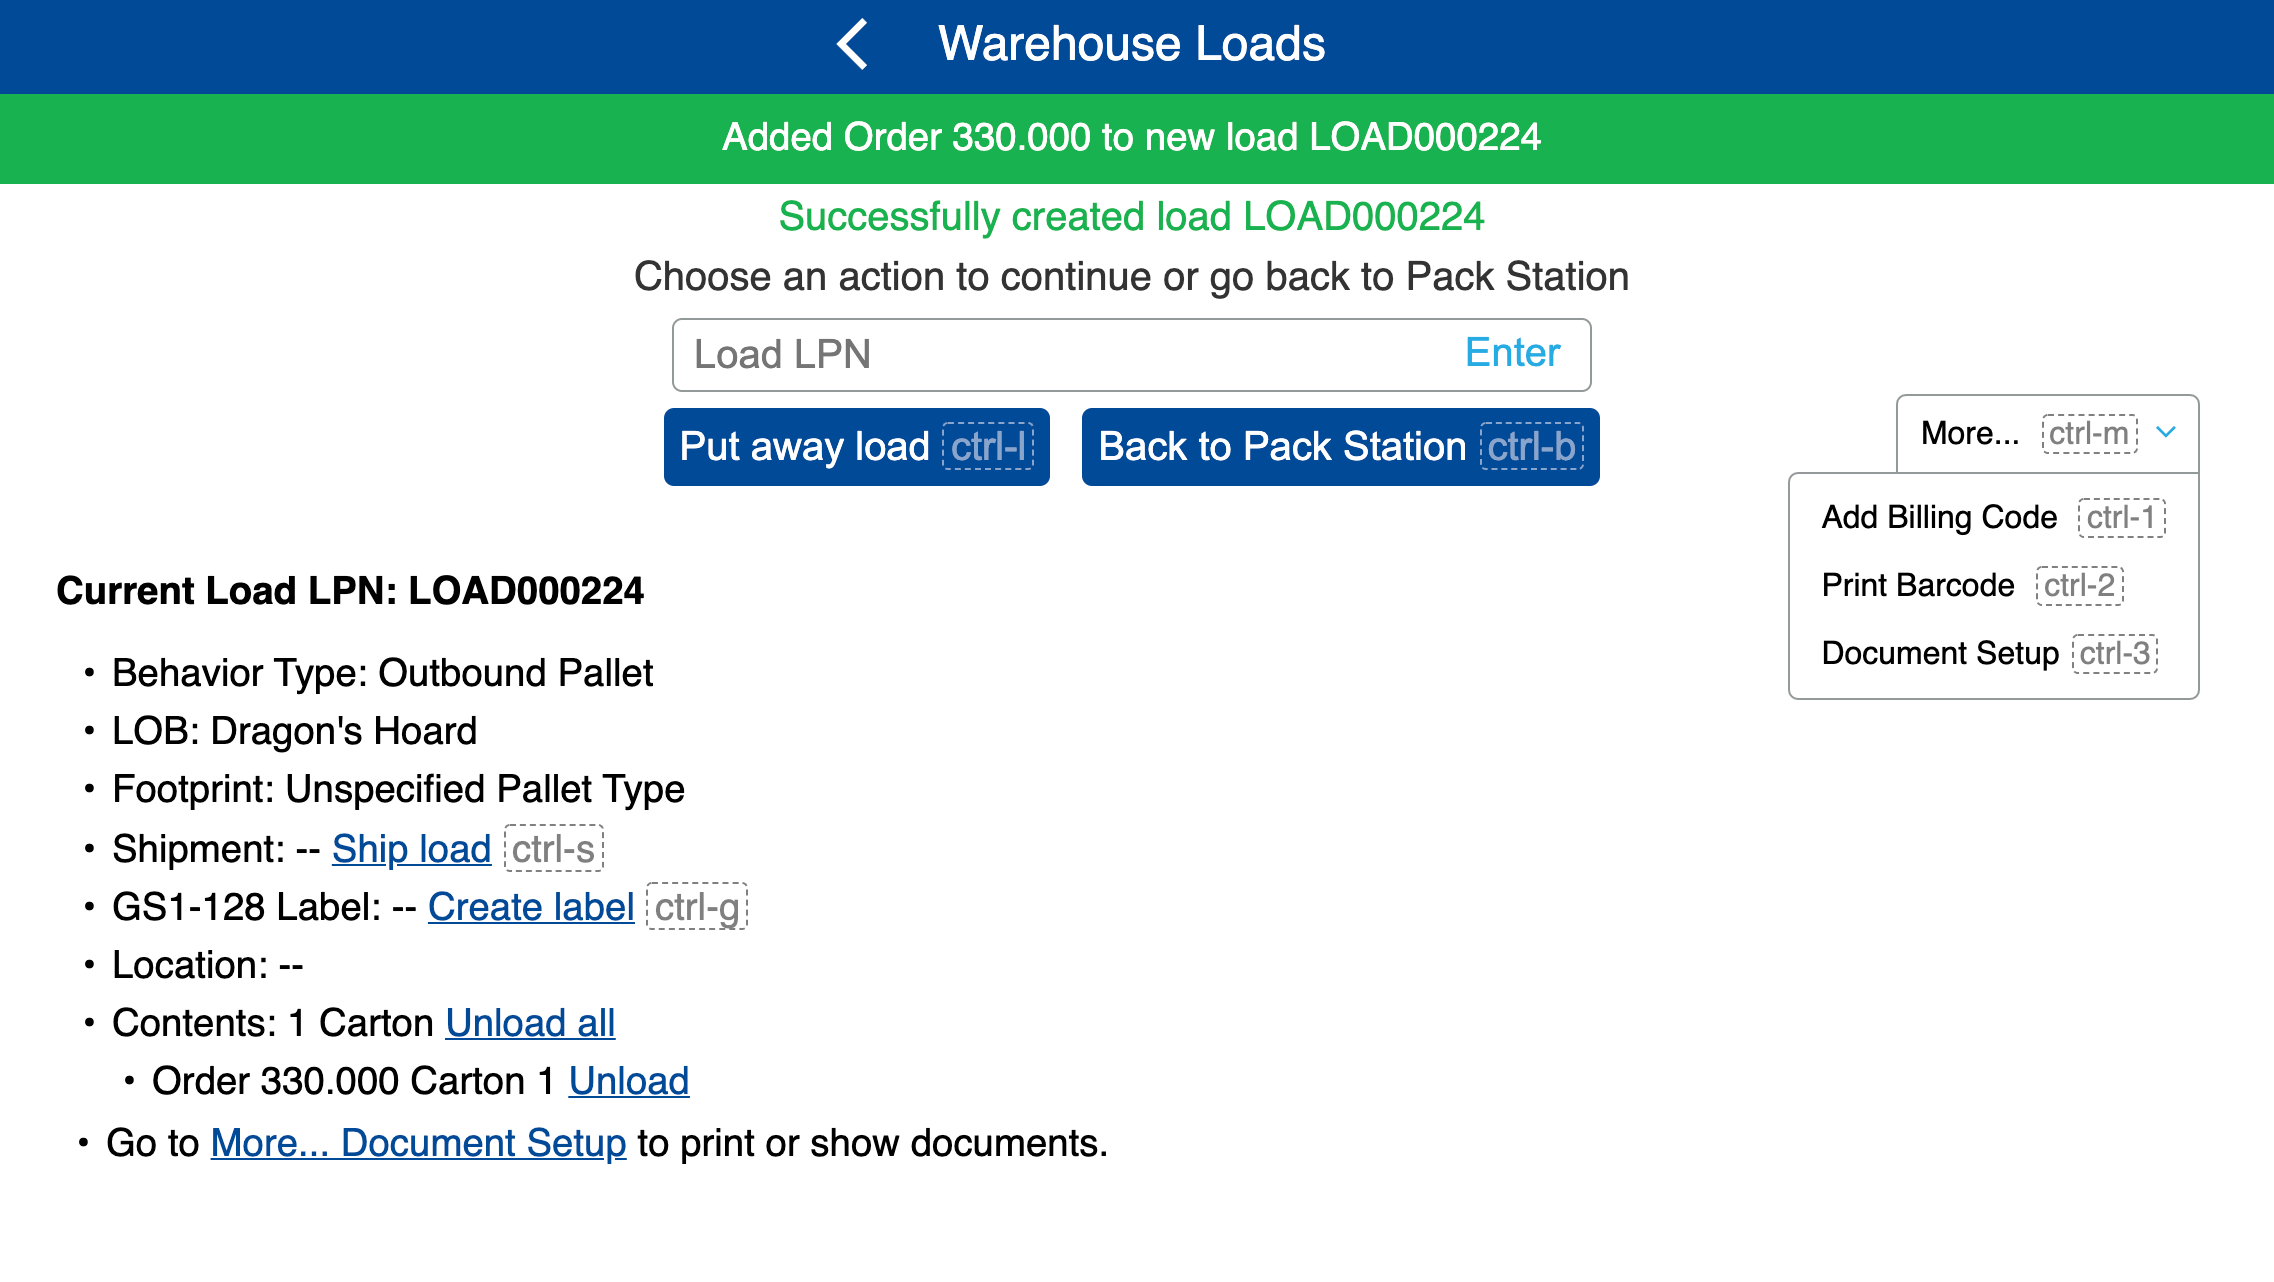
Once a load is created, it can be accessed via the Loads Mobile App at anytime. From here users can:
- Add Billing Codes
- Print Barcodes, Smart Documents and GS1-128 Labels
- Stage the Load (put away to a location that accepts loads)
- Unload
- Ship
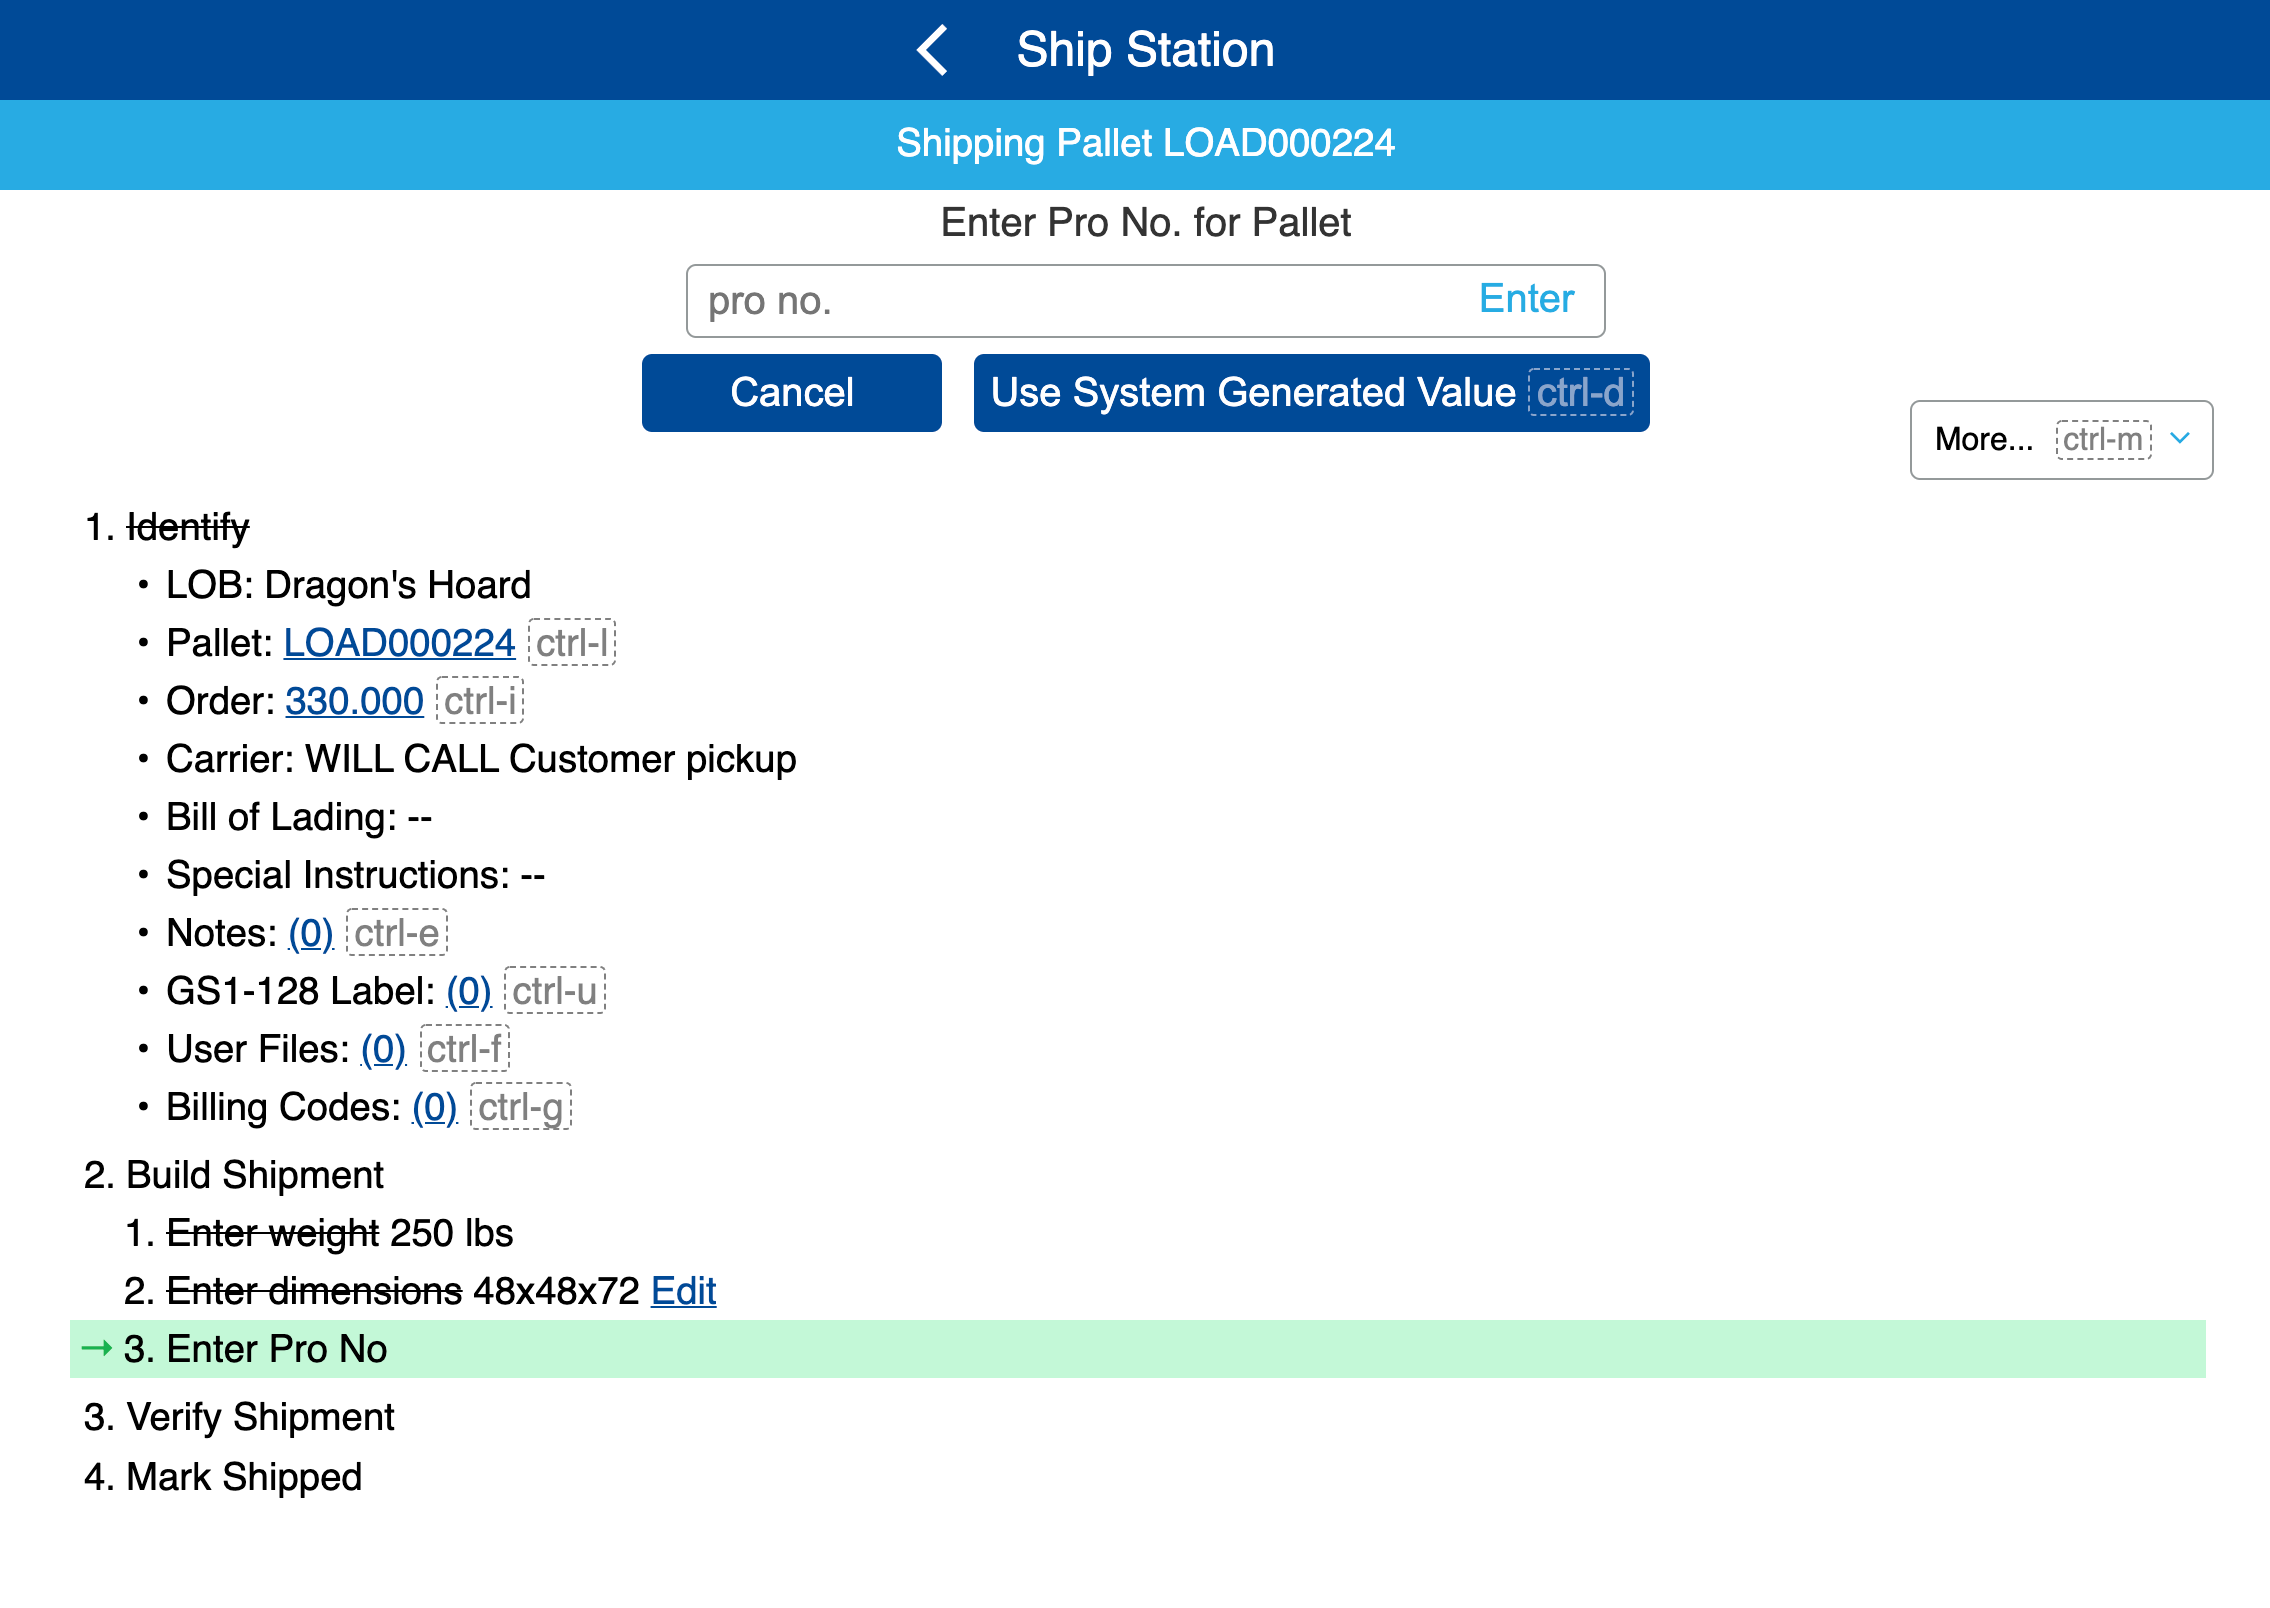
When attempting to ship a load, users will be prompted to enter a weight, dimensions and a pro number. (Note that dimensions will flow in automatically if a pre-defined Pallet Type is selected). The Pro No can be system generated or scanned in if provided from the carrier service.
Loads FAQs
I received an error message: Error performing determineNextSteps for ship station.

What it Means: This error is returned when a user is attempting to ship an order on a Load with no associated contents.
How to Fix It: Navigate to Loads in the mobile app, scan the Load number, add contents, and then scan the carton/master carton.